It’s been a while since we’ve done a display of the month, and now is the perfect time to revive the tradition with MyPlate!
The Materials:
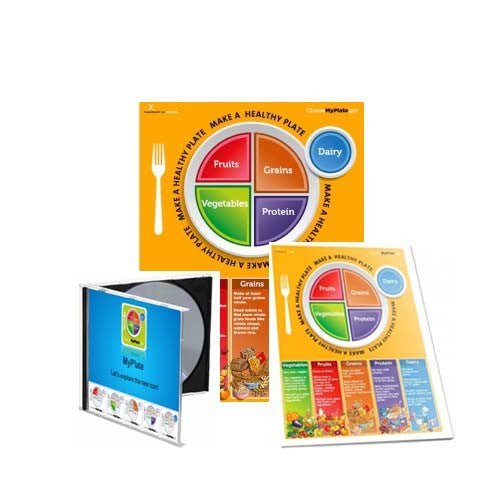
- Banners: MyPlate Banner or MyPlate Bulletin Board Banner or MyPlate Banner and Stand
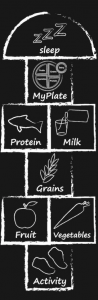
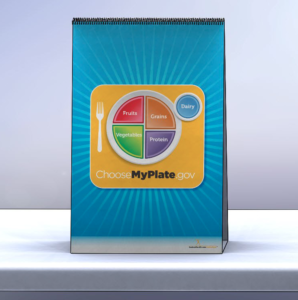
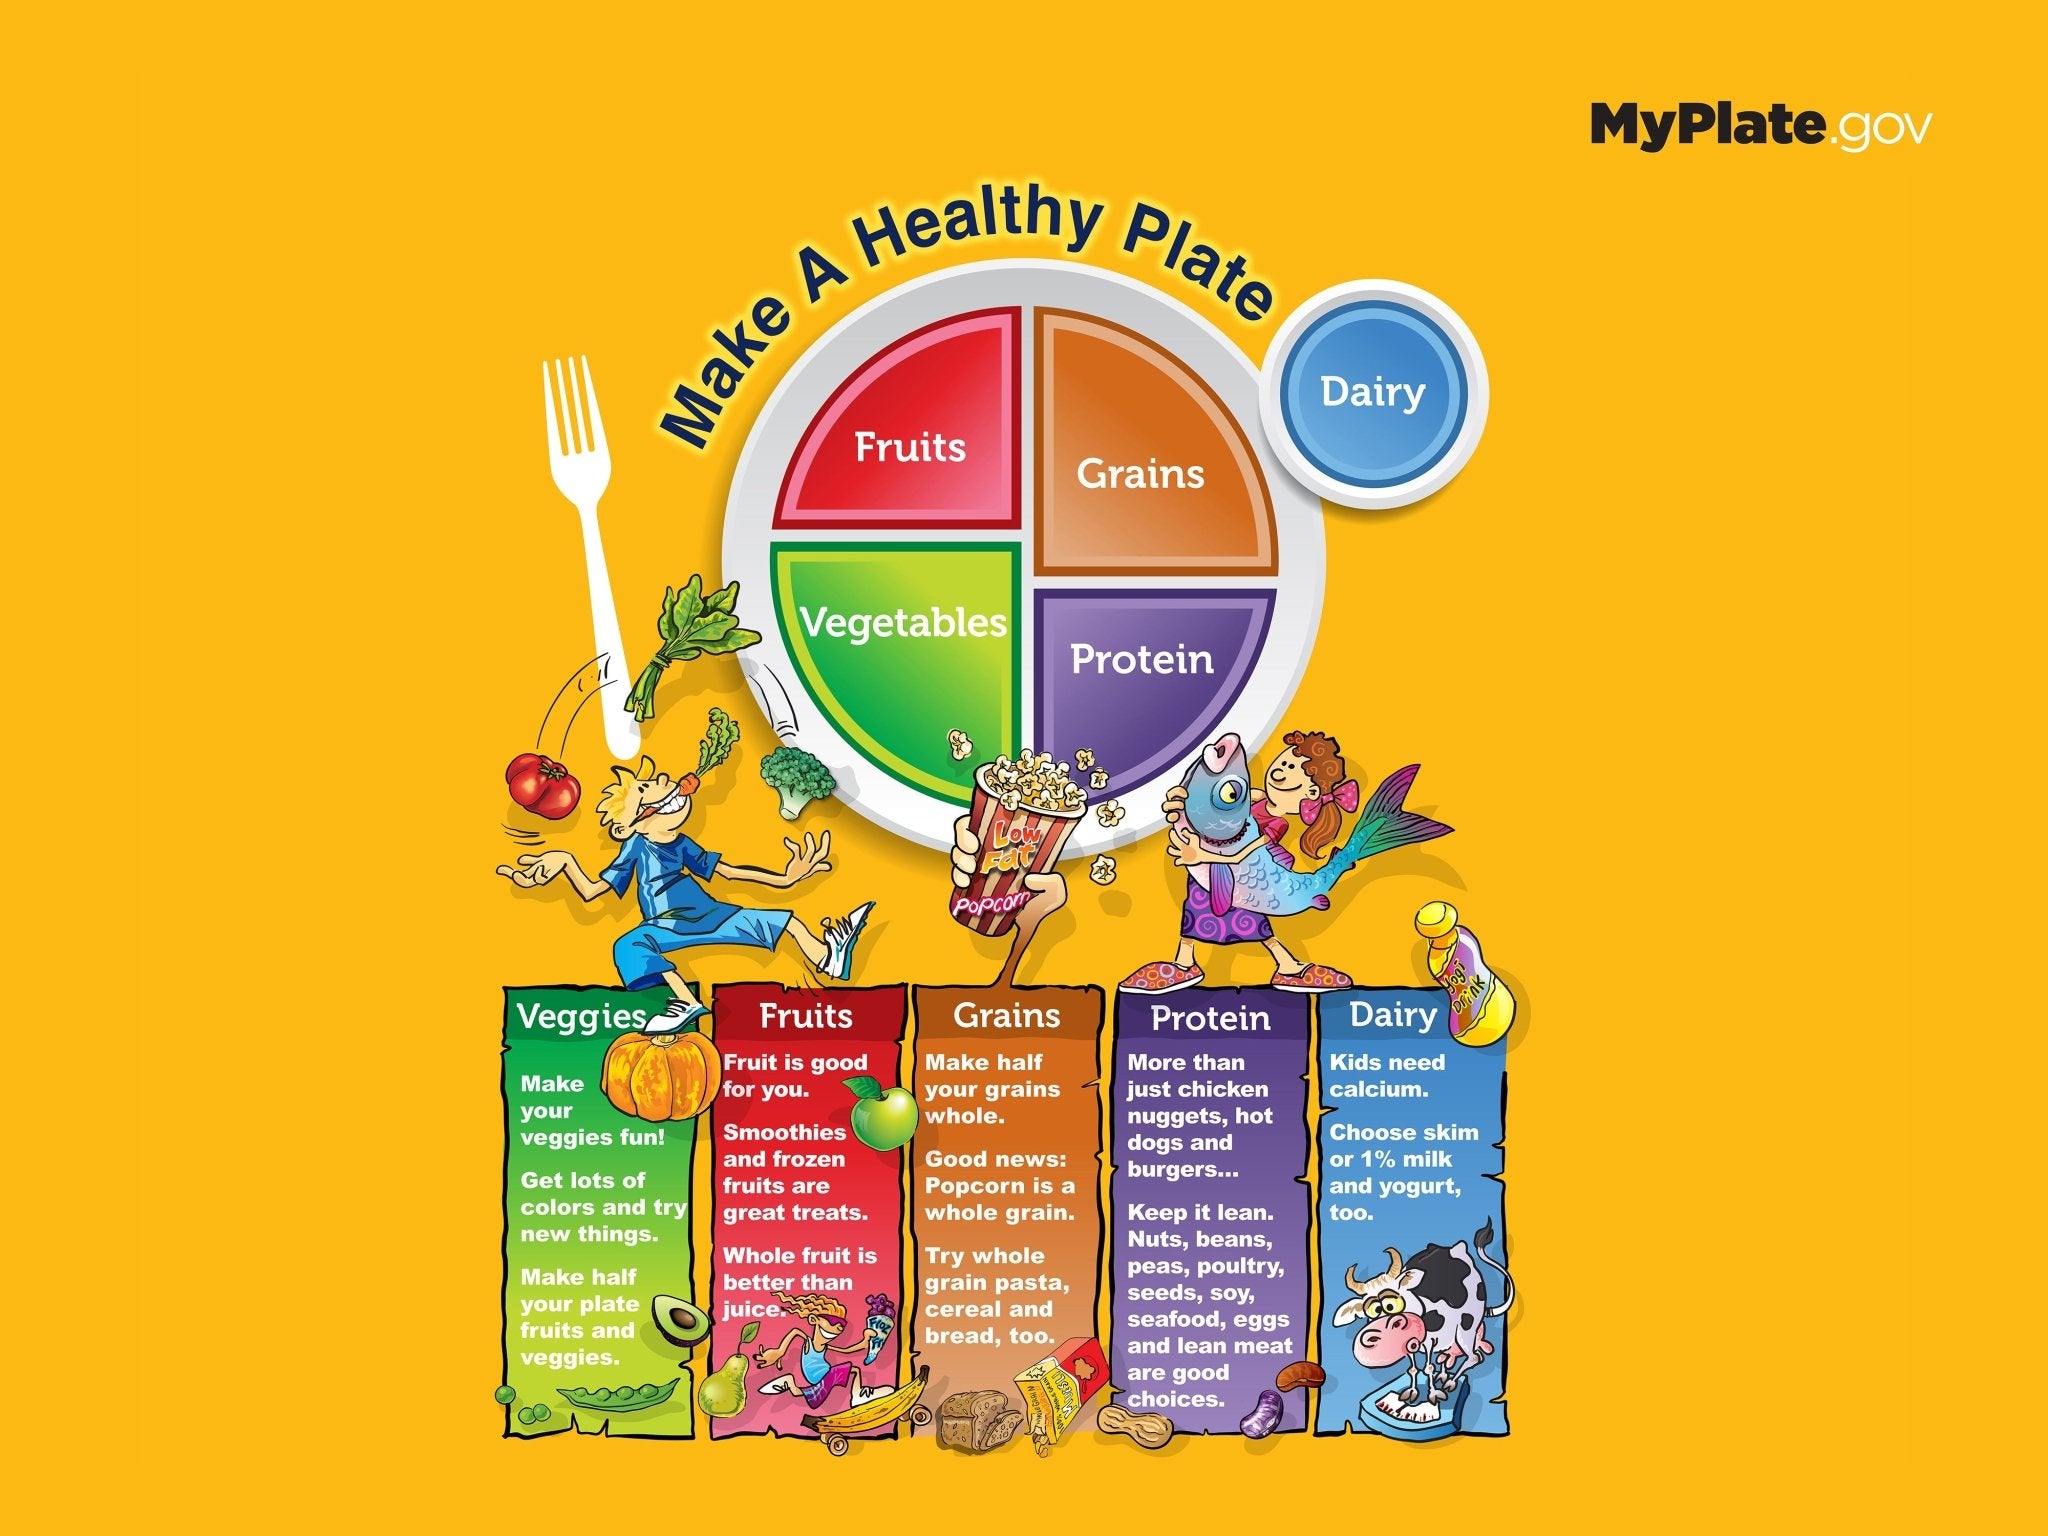
- Poster: MyPlate Art of Health Poster
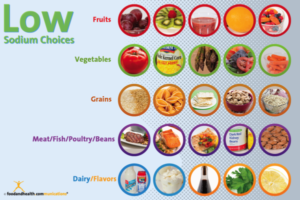
- On Your Table: MyPlate Wellness Fair Kit, MyPlate Handouts
- Prizes: MyPlate Stickers, MyPlate Vegetable Stickers, MyPlate Fruit Stickers and/or MyPlate Bookmarks
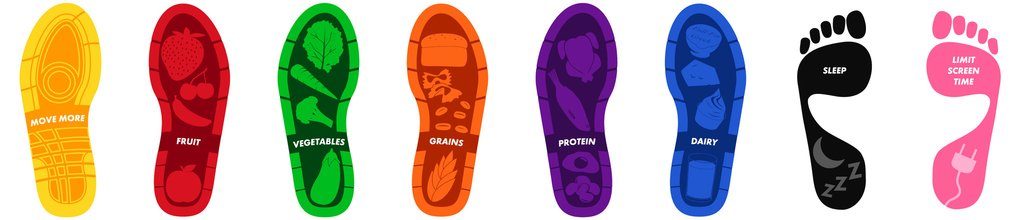
- Eye-Catchers: MyPlate Floor Decal and MyPlate Apron
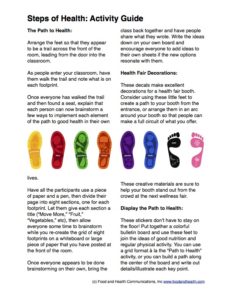
The Activities:
- Food Group Lottery
- Food Group Lighting Rounds

The Details:
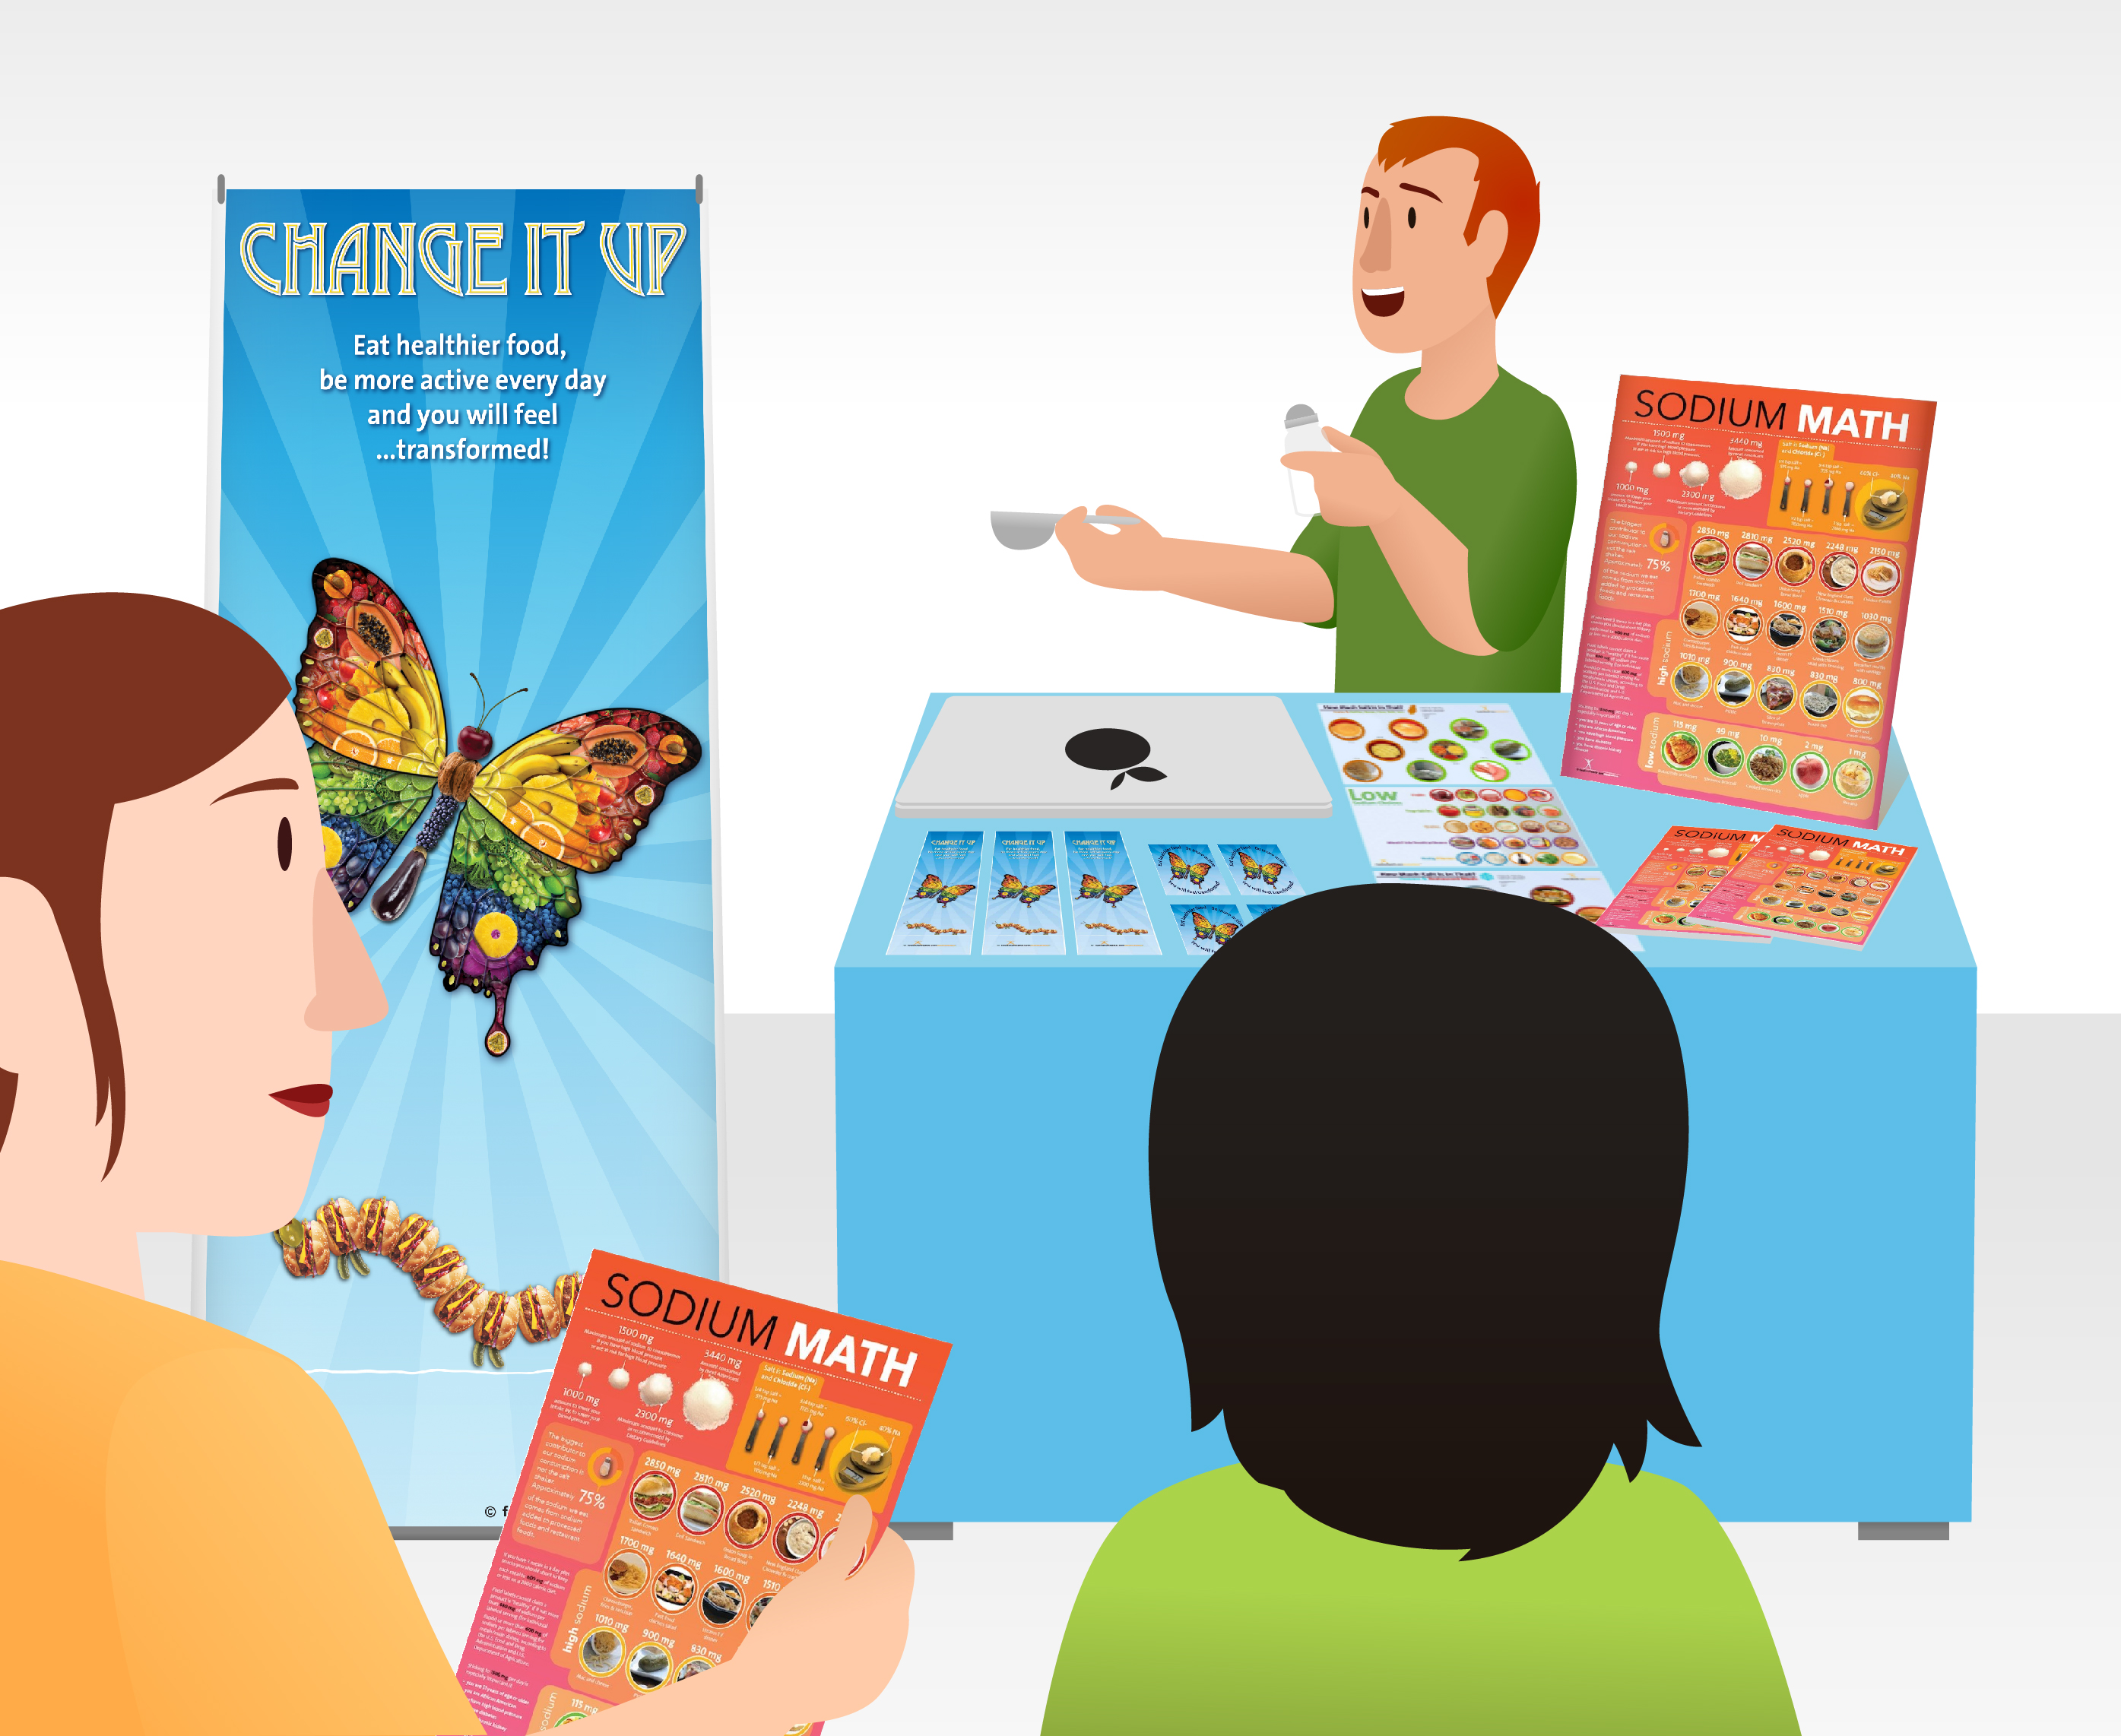
If you have access to the wall behind your table, set up either or both of the MyPlate Banners along with the Art of Health Poster. If you don’t have access to that wall, use just the MyPlate Banner and Stand alongside your table and add the Art of Health Poster to your table (you can prop it on a Tabletop Easel). In front of your table, arrange the MyPlate Floor Decal to add extra interest to your booth.
On the table itself, scatter the resources included in the MyPlate Wellness Fair Kit, leaving room for some MyPlate Handouts and the prizes (MyPlate Stickers, MyPlate Vegetable Stickers, MyPlate Fruit Stickers and/or MyPlate Bookmarks) you’re going to offer in order to draw people to your booth and reward participation during activities. In one corner of the booth, arrange the materials you’ll need for the food group lottery.
And, just for fun, finish setting up by tying on a MyPlate Apron, which you can later give away as a prize, if you’d like!
Now, on to the activities!
For the Food Group Lottery, have volunteers write down their names and favorite food groups on individual pieces of paper and put them all in a clear bowl or box. Shuffle all the submissions, then draw 10 winners. Reward them with the prizes listed above, or these adorable MyPlate buttons.
For the Food Group Lightning Rounds, gather all your participants in a circle in front of your booth. Explain that you’re going to name a food group and then each person has to list a healthful food that would fit in that group, one at a time. If a person can’t think of a food or lists something that isn’t healthful, he or she is out and the circle gets smaller. Repeat with the rest of the food groups until you’ve got a small group of winners remaining. All of the previously-suggested prizes would make great rewards, as would these pretty MyPlate plates!

Previous Display Inspiration:
- 10,000 Steps
- Beverage Better
- Eating Pattern Shifts
- Fresh Fruit and Vegetable Month
- Nutrition Month
- Portion Control
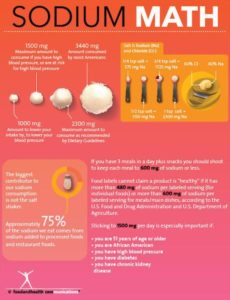
- Sodium Math
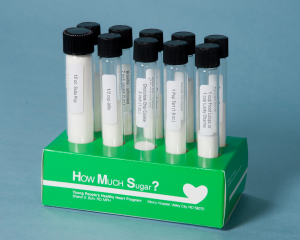
- Sugar
- Sugar Math
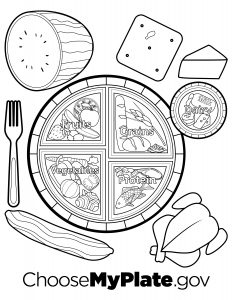
Free Handout:
And, to add one more fun aspect to your display, here’s a free MyPlate coloring page. How will you incorporate this into your booth?
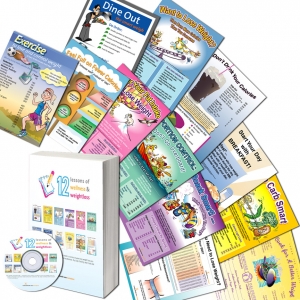
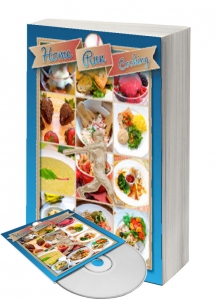
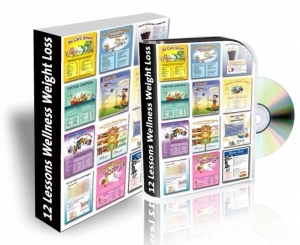
Finally, here are some fantastic workbooks to help your clients learn valuable health and nutrition lessons…