Food Safety: How Long Can I Keep That?

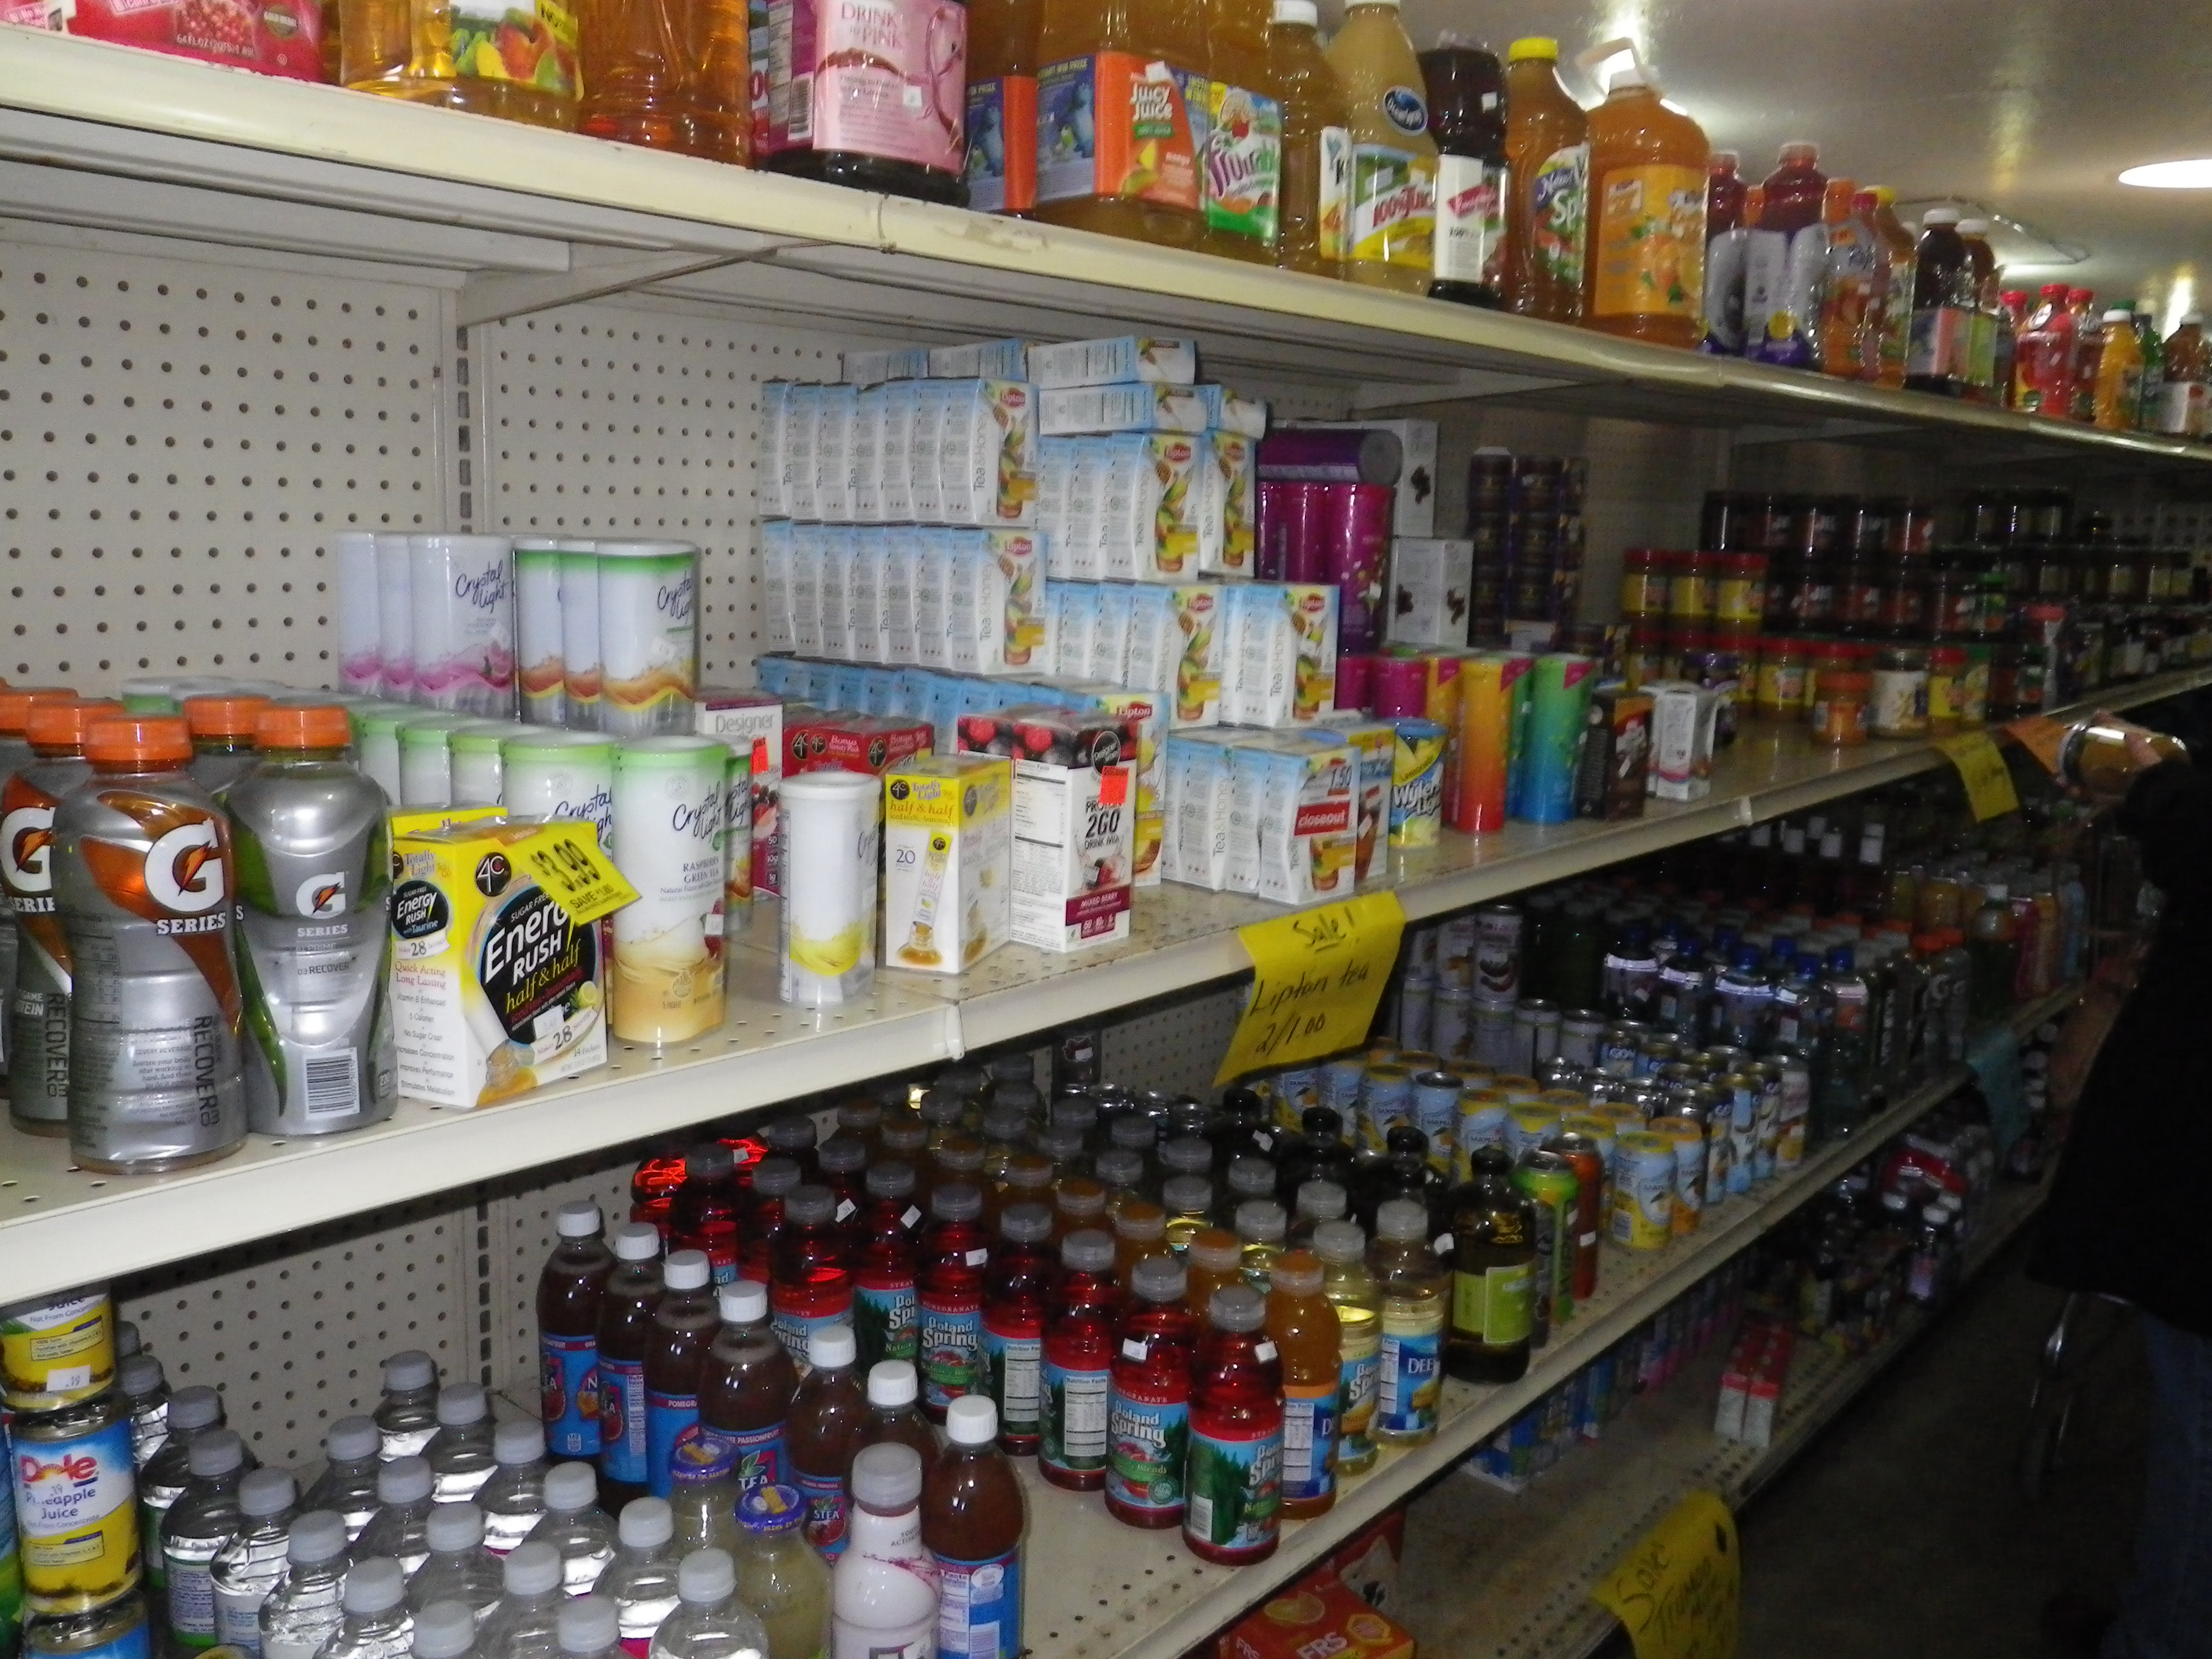
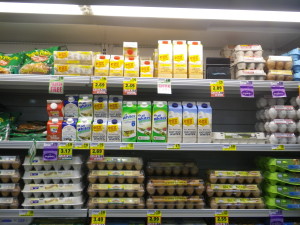
I think we all know the routine. When you go to the store, reach to the back of the cooler to get the coldest milk or the yogurt with the most recent date. This practice helps assure us that the refrigerated products we’re getting are the freshest possible and will last the longest once we get them home.

Best By DateI was watching a grocery store worker last week, and he was pulling all the dairy foods that were at or close to their sell-by dates. He was going to put the ones that were only close to the “sell by” date on sale.

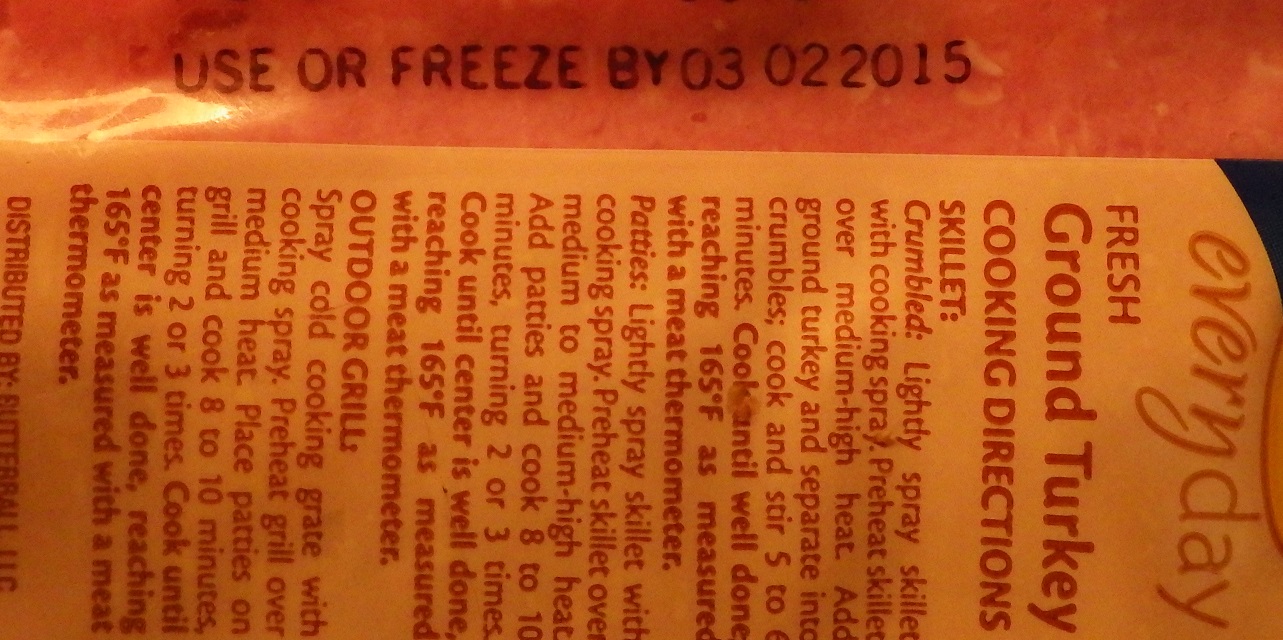
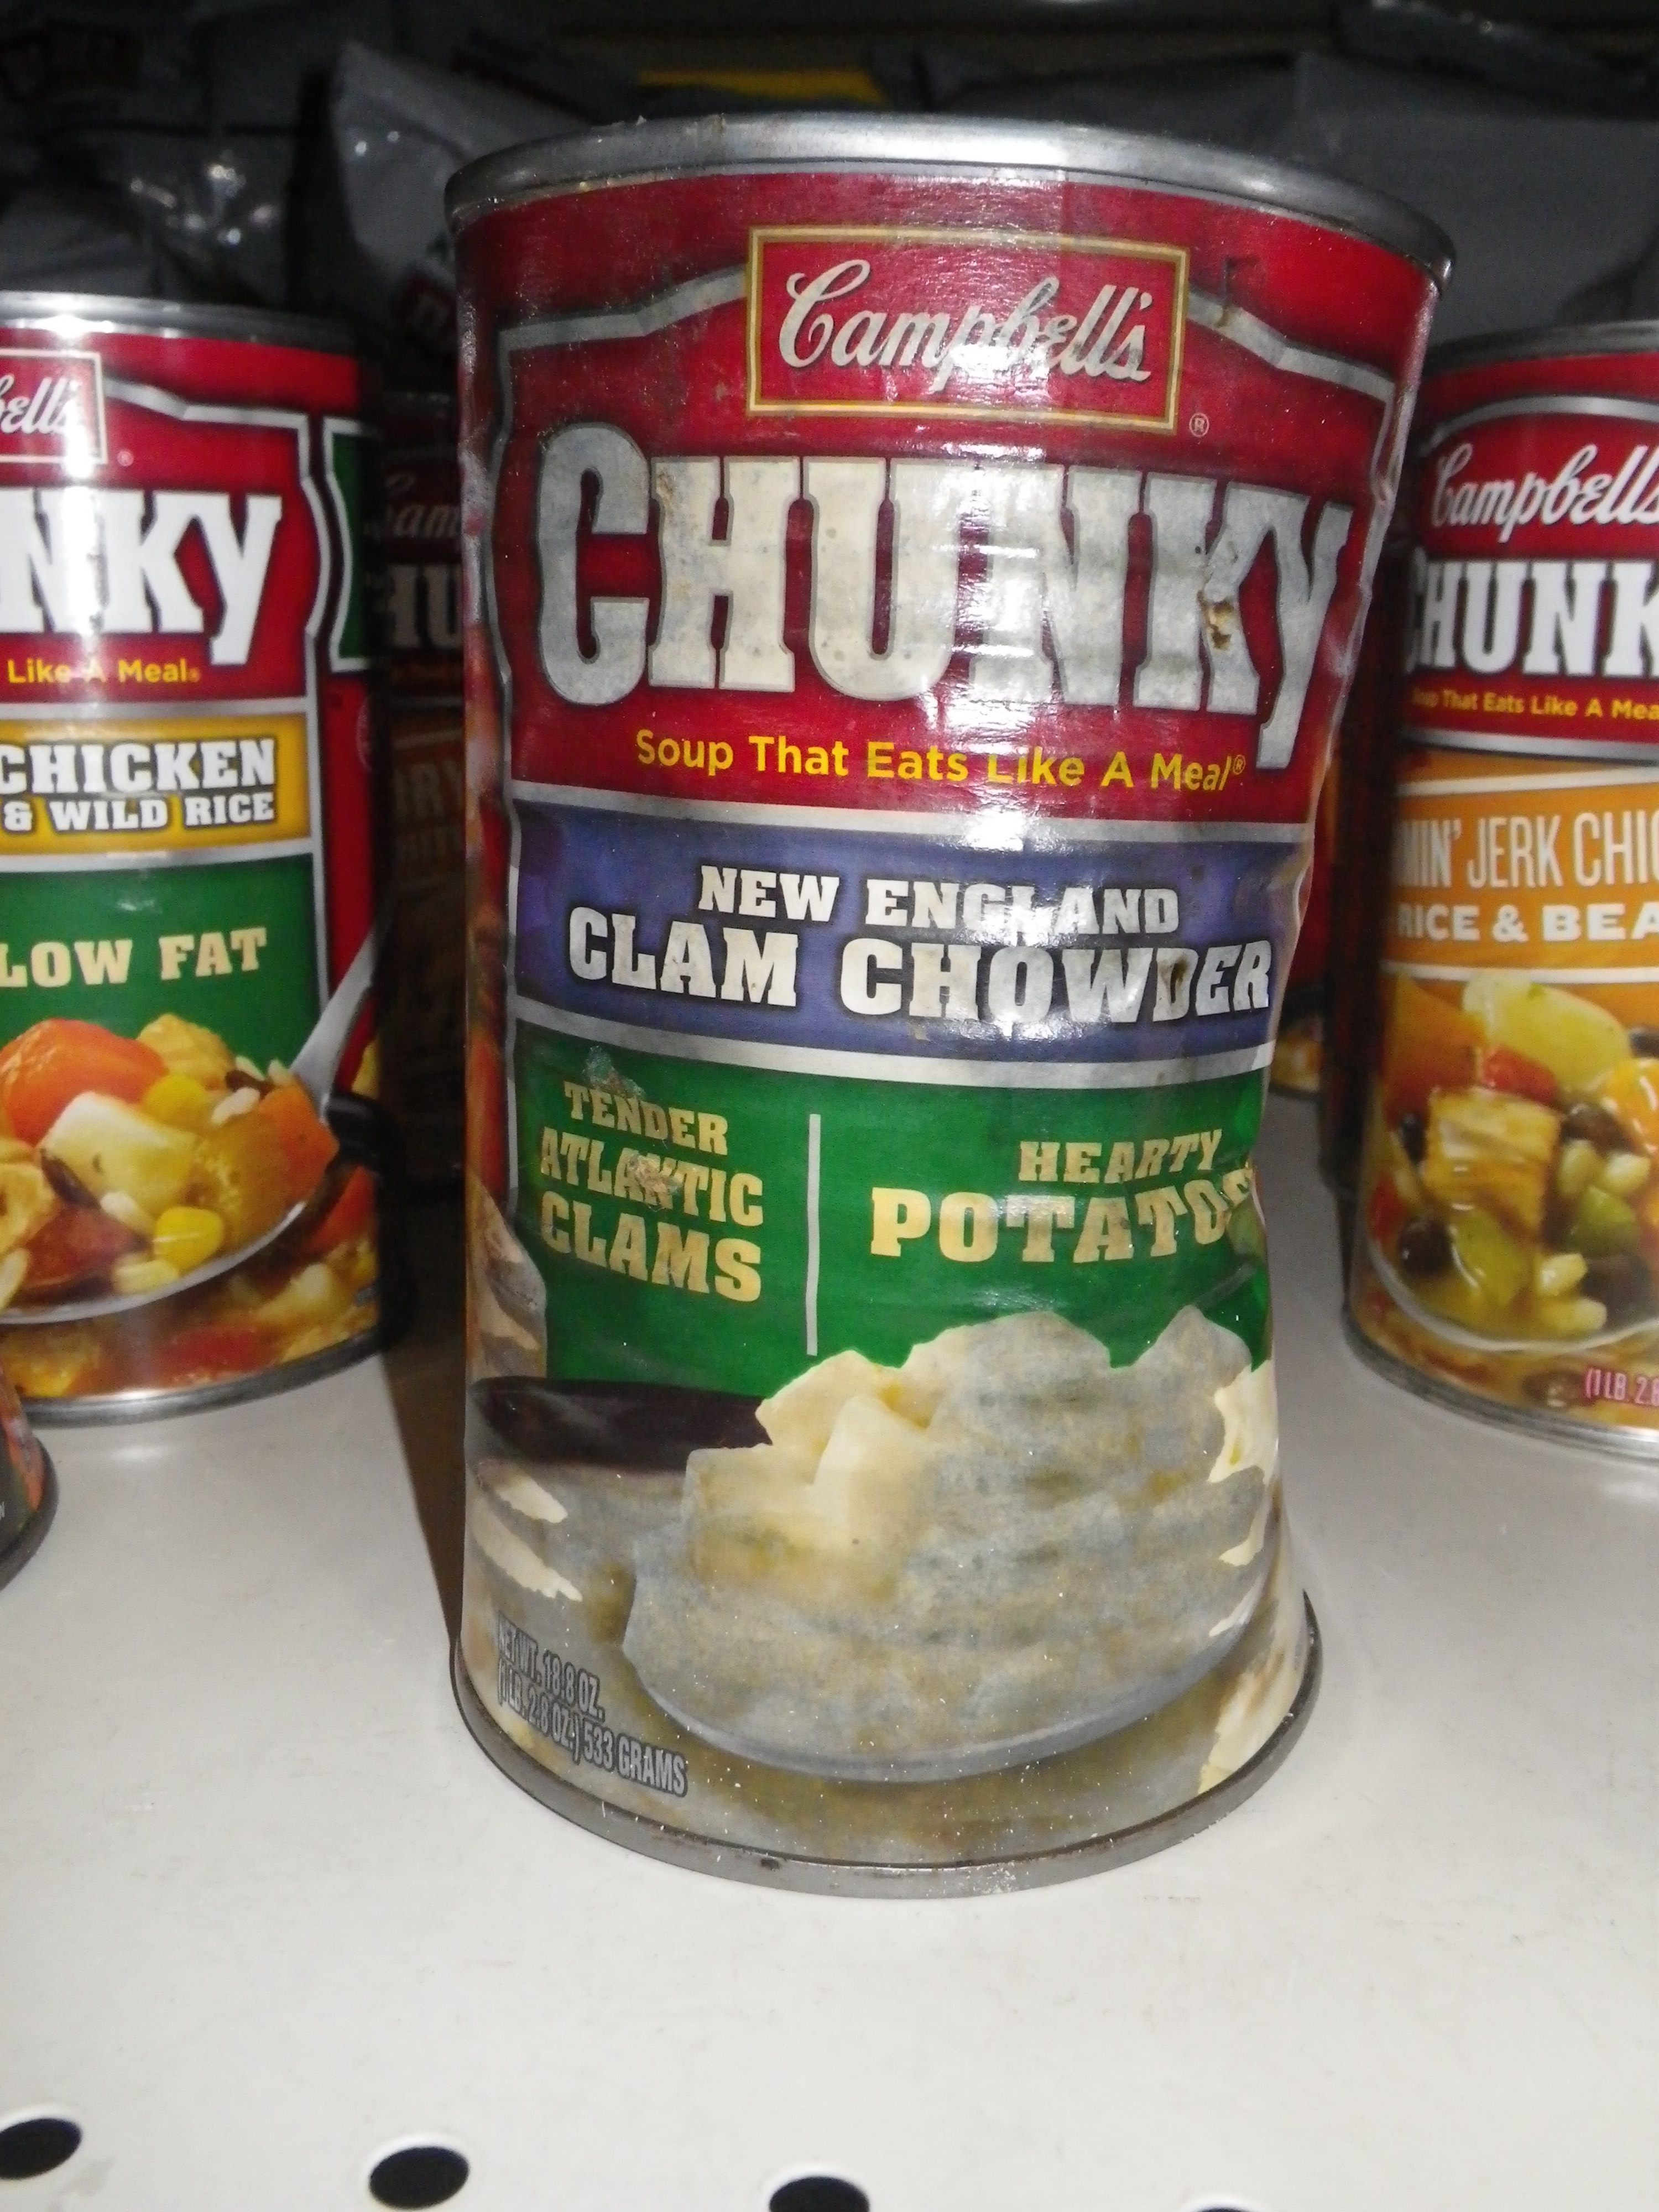
Fresh refrigerated products like milk, meats, fish, and poultry are perishable and most have “sell by” dates. Stores must sell these products by the printed dates or discard them.

Packages frequently have words like “best by” or “use by” on them. Note that they don’t say “do not eat after this date. Those dates are provided by the food manufacturers as a way for you to judge the quality and freshness of the product. Putting these dates on packages is entirely at the discretion of the manufacturer. After all, they would like you to eat their food when it is at its best. This is not necessarily a food safety date.

Sell By Date“Sell by” dates should be taken seriously, especially with fresh items. Make an effort to use the foods close to this date. However, these “sell by” dates do not mean that the food in your refrigerator needs to be destroyed after this date.

Depending on how the product has been stored, the food may have become unsafe before the “use by” date. How many times have you had a carton of milk that went bad before the expiration date? If someone left it sitting out on the counter or if the milk sat in a hot car trunk for longer than you planned on the way home from the store, then that milk may actually go bad sooner.

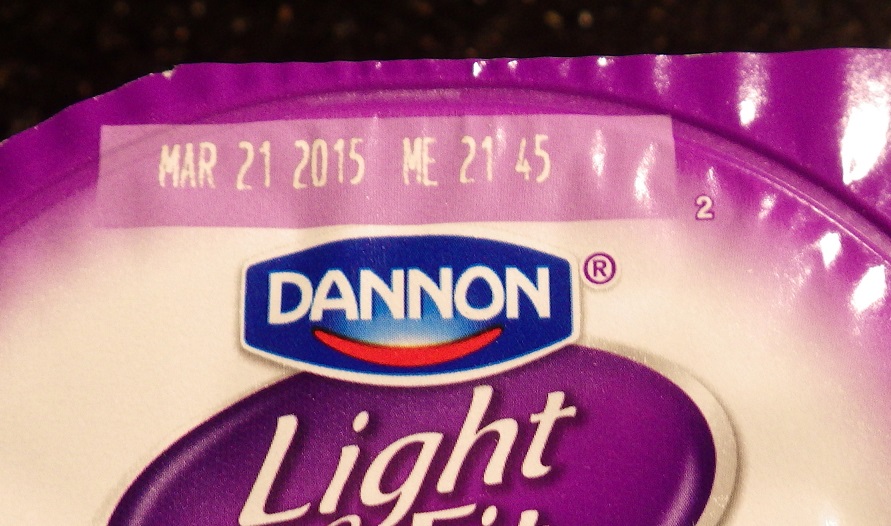
Alternatively, the product may stay in good condition for long after the date on the package. Milk (if properly stored) will keep for 4-7 days beyond the “sell by” date. Yogurt makers assert that their yogurts will keep for roughly a week to 10 days after the “sell by” date has passed.

Use or Freeze ByThe best thing to do is to use these dates as a guide to the age of a product.

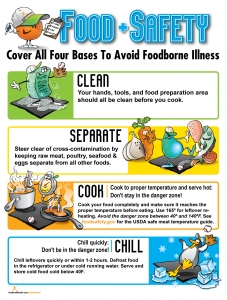
Here are some key points to remember, especially with perishable refrigerated items…

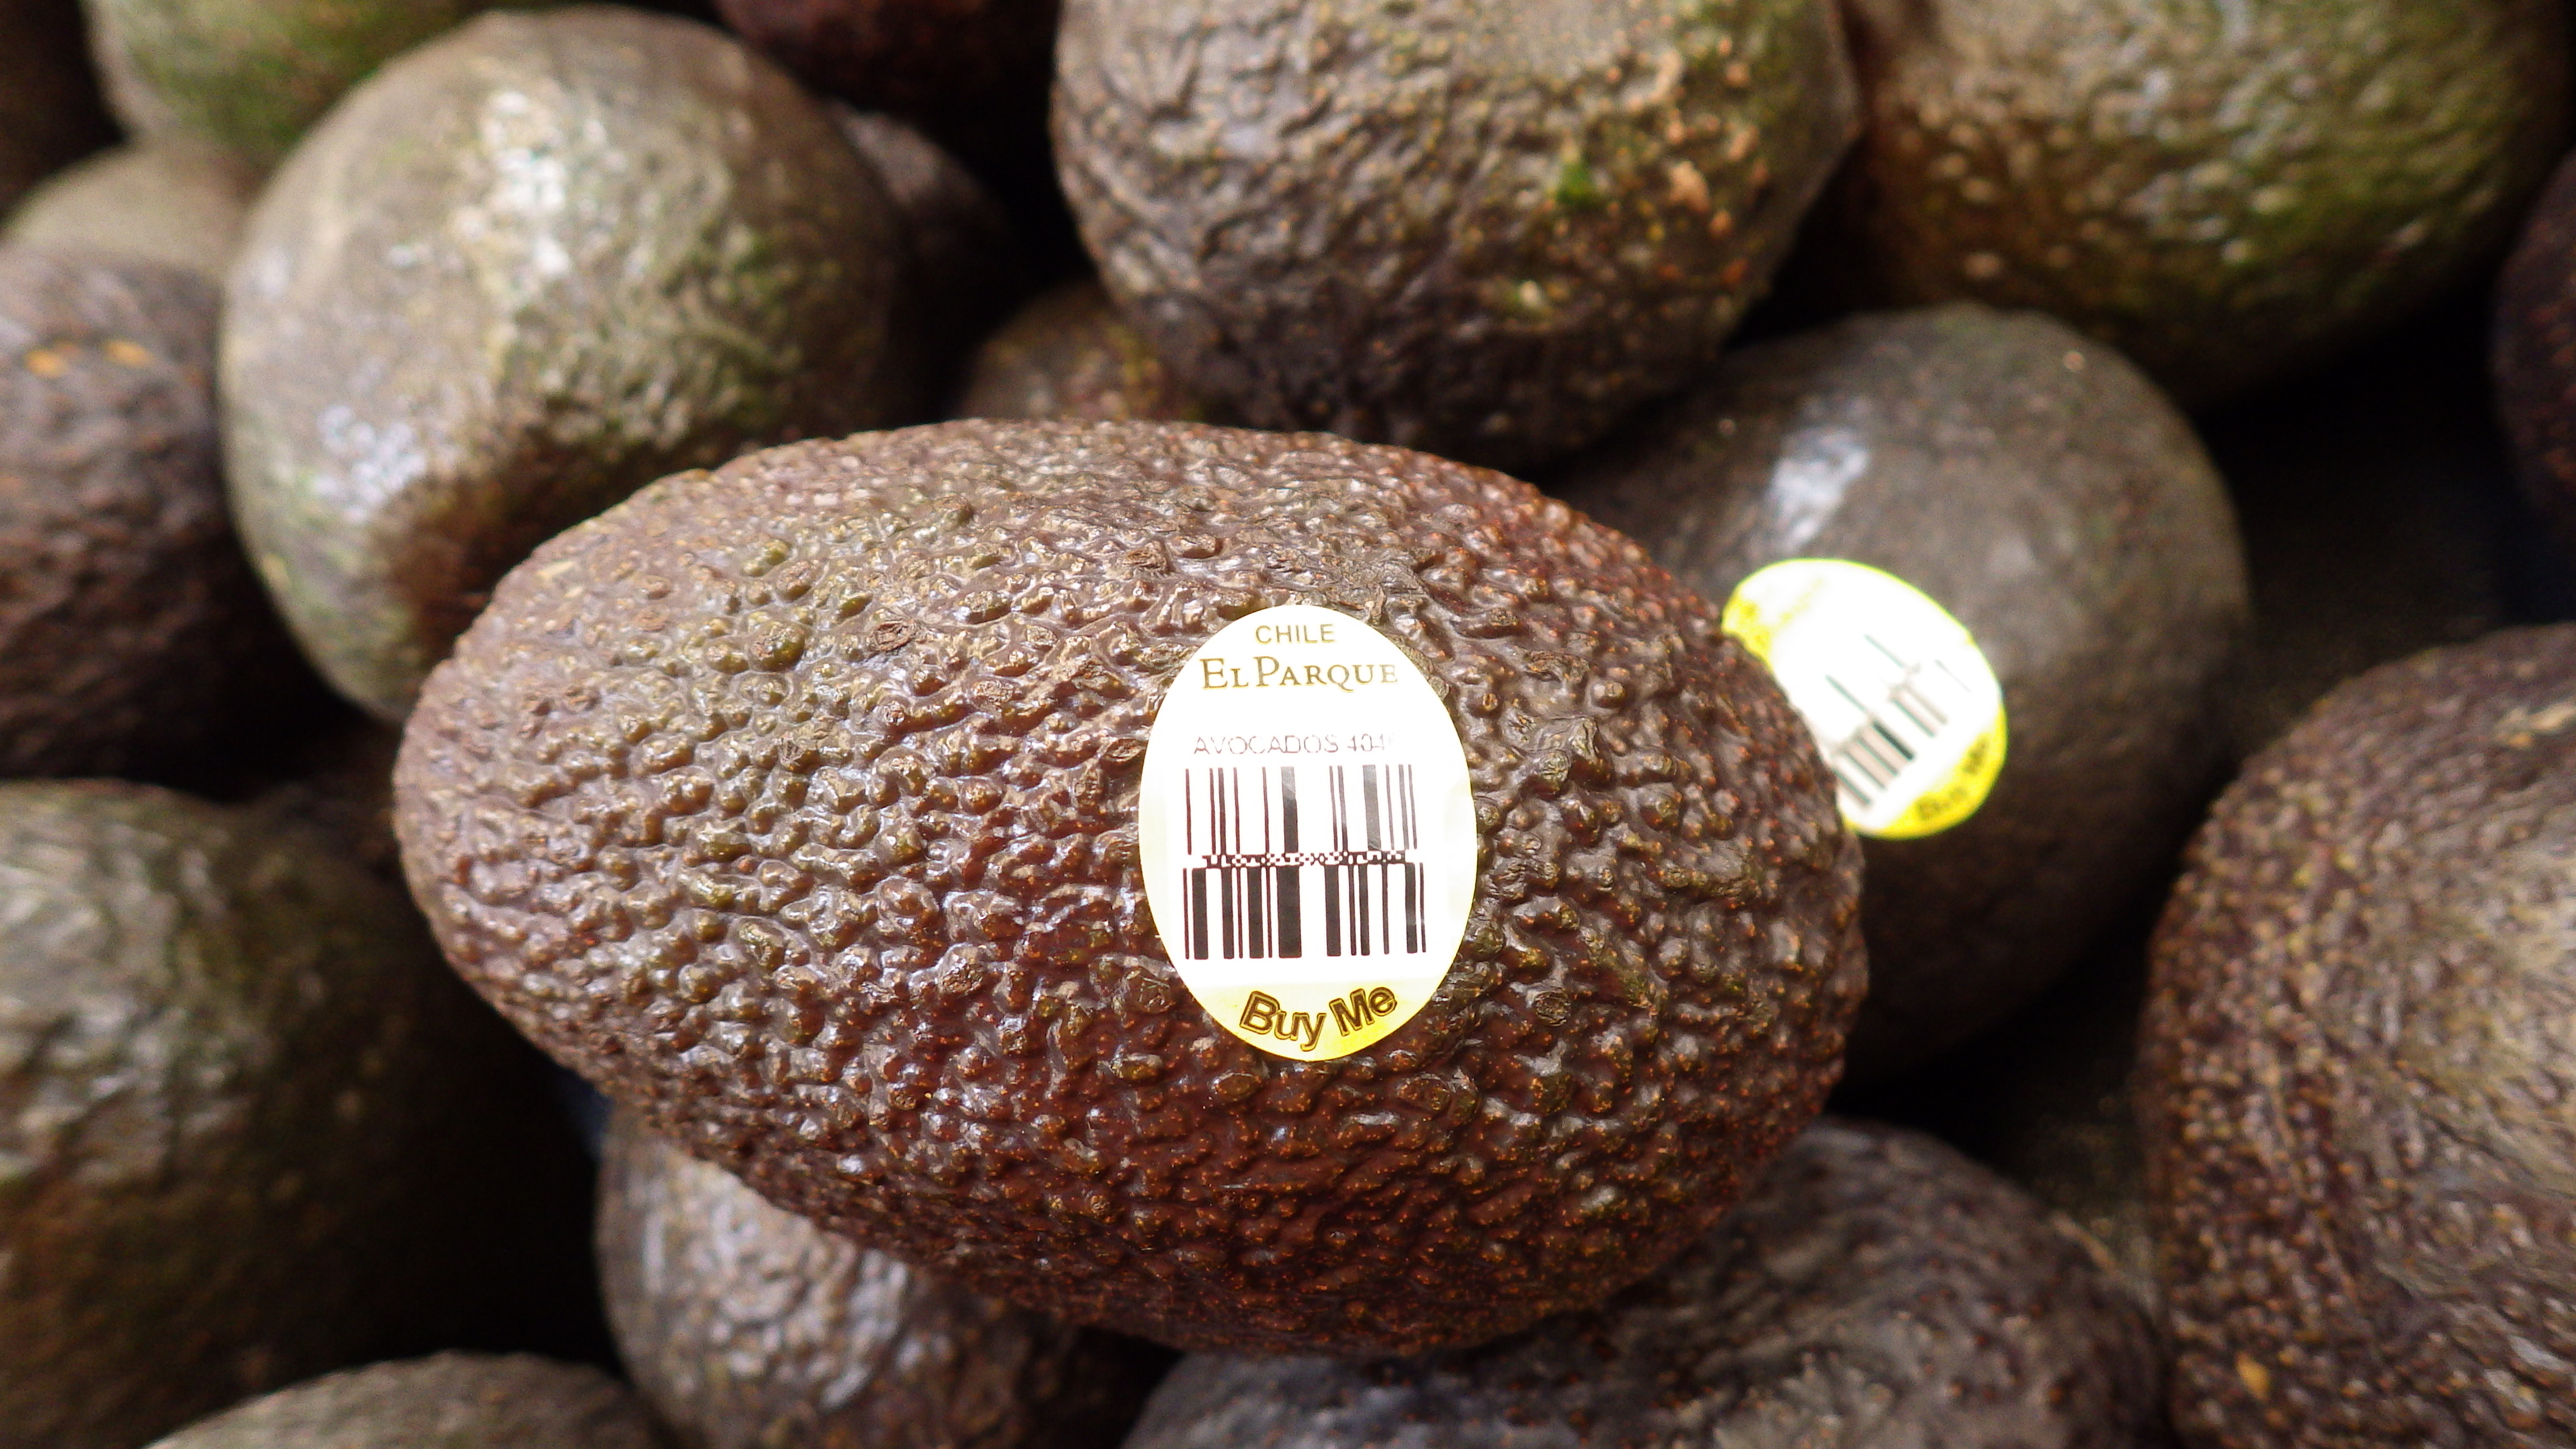
  • For the freshest product, buy the “youngest” products available.
  • Keep these foods refrigerated. Store coolers in your car to keep the food as cold as possible before it gets home.
  • Refrigerate the food immediately once you get home.
  • Freeze perishable foods if you’re unable to eat them within a reasonable amount of time.

Obviously if the food has an off odor, flavor or appearance, pitch it.

By Cheryle Jones Syracuse, MS, Professor Emeritus at The Ohio State University

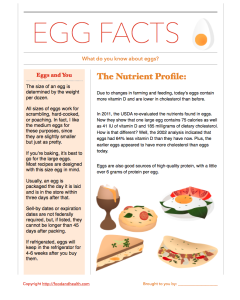
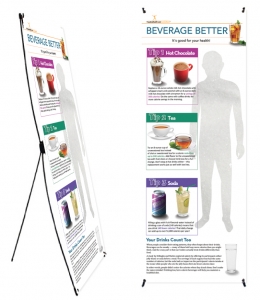
Here’s a free handout with the highlights from this post. Get your copy today!

Sell By Handout

And here are some more great resources for healthful shopping!

Interactive MyPlate Shopping Presentation

Shop Smart Poster

Supermarket DVD Presentation

We want you to look your best, so please let us know if there’s anything you need.

Avocados: Yea or Nay?

“They’re high in calories.”
“They’re high in fat.”
“But it’s a good fat.”

Those are all statements I frequently hear about the avocado.

What about you? Do you shy away from avocados because of the fat or calories? Or do you make them a part of your diet?

Today, let’s take a look at the pros and cons of the humble avocado.

Pile of Goodness

An avocado is nutrient dense. Nutrient-dense foods provide substantial servings of vitamins, minerals, and other nutrients in proportion to the number of calories they contain. Although avocados are high in fat, most of that fat is heart-healthy monounsaturated fat.

According to the Centers for Disease Control and Prevention, avocados are loaded with dietary fiber, vitamin B6, vitamin C, vitamin E, vitamin K, magnesium, and folate. They’re also cholesterol- and sodium-free. One avocado contains about 700 milligrams of potassium. In fact, avocados have more potassium gram for gram than bananas! Furthermore, avocados are loaded with the phytochemicals that are thought to reduce the risk of some types of cancers and other chronic diseases.

So what about the calories?

The calories in an avocado are not messing around. Two tablespoons of mashed avocado (that’s 1/5 of the whole thing or about 1 oz) provide about 55 calories. So, if you eat a whole avocado, then you’re getting about 275 calories. That’s a lot of calories, especially if you’re on a calorie-restricted diet.

However, the key word is moderation.

A little avocado can add some real nutrition and variety to a meal. Plus, sometimes avocado can offer a nutrient-rich alternative to another less-healthful fat. Try slicing and spreading 2 tablespoons of avocado on your sandwich instead of mayo or butter. This will save you almost 40 calories! Yes, you get the fat, but it’s definitely a better-for-you fat than those other spreads. And you really can’t beat the flavor it adds.

Avocados for Everyone!

When buying avocados, pick fruits that have firm skins, but which yield to gentle pressure and have no soft spots. These are the kind of fruits that will ripen after they’re picked. Put unripe avocados in a paper bag at room temperature and they will ripen in the next 2-5 days. If you want them to ripen more quickly, add a ripe banana or apple to the bag. Why? These fruits give off a natural ethylene gas that helps to ripen the avocados. Once they’re ripe, use them right away. You can also put them in the refrigerator, where they will last for a couple days.

So, when you ask whether you should make avocados a part of your diet, I say yea!

By Cheryle Jones Syracuse, MS, Professor Emeritus at The Ohio State University

Looking for more cooking and nutrition resources? Look no further! We’ve got you covered! We are here when you want to look your very best right now.

Drinks, Portion, Whole Grains, Fruit and Vegetables, and Nutrient Alphabet

Nutrition Poster Set

MyPlate Wristband

Real Food Grows Banner

You made it all the way to the end! For your persistence, please enjoy a brand-new free handout! It’s the perfect guide to avocados.

Avocado Handout

A Fresh Look at Hummus

There are several foods in my refrigerator on a regular basis that weren’t there five years ago. One of these is hummus.

HummusI’ve been buying hummus as an alternative to sour cream or mayo-based dips, and it has now become my favorite appetizer. I try to “walk the talk” as a health educator, and so I put out healthful snacks when we have people over. Hummus goes very well with fresh vegetables, whole grain crackers, or baked pieces of pita bread.

Recently I wondered if I could make my own hummus. Some of this is just my curiosity, but I was also looking for a way to save some money/calories. The commercial versions of hummus are at least $2 for just 12 ounces and declare that 50 calories are in just 2 tablespoons. (This is still better than the typical French onion dip that averages 60 calories per 2 tablespoons, with 75% of the calories from fat). But I was looking for something even more healthful.

ChickpeasThe basic ingredient in hummus is the humble chickpea (a.k.a. garbanzo beans or cece beans). Chickpeas themselves are powerhouses of nutrients. They are high in protein and dietary fiber while staying low in fat and sodium. What a great base for this dish!

In addition to chickpeas, another traditional ingredient in hummus is tahini. Tahini is a paste that is made by grinding up sesame seeds. Not only is it expensive, but it’s really high in fat. According to the Nutrition Facts label on the jar, just 2 tablespoons of tahini contain 260 calories, and 200 of them are from fat! Wow! That adds up fast, especially when recipes call for 1/3 to 1/2 cup of tahini for each 1 and 1/2 to 2 cups of chickpeas.

Now, when it comes to the ingredients, I prefer to take things a bit farther. Most of the hummus recipes I found start with a can of chickpeas. But I wanted to be even more in control of the ingredients in my hummus, so I got dried chickpeas. If you’ve never purchased them, dried chickpeas are with the other dried beans and peas in the grocery store. I soaked them overnight in water, brought everything to a boil on top of the stove, and finished cooking them for 5 hours on low in the slow cooker. Made this way, they were perfect. Chickpeas can be cooked for a shorter period of time on top of the stove, but the slow cooker was easy for me to start and then do something else while the chickpeas cooked.

Mixing It TogetherOnce I had finished preparing my chickpeas, I found that I got 8 cups of cooked beans out of a single pound of dried chickpeas. That’s about four times the amount of beans you’d get in one can. Plus, that larger amount costs the same as a small can of beans, and this version has no added sodium.

I was also impressed with the flavor — I found it to be so much better than the canned version.

Now that the chickpeas were ready to roll, I started to experiment with actual hummus recipes. I found one particularly intriguing recipe from the free recipe database at Food and Health Communications — this recipe used plain yogurt instead of tahini. I tried it that way and loved it, and what a savings in terms of calories and fat!

Hummus!From there, making hummus is a snap! I slowly processed all the ingredients in my food processor, adding more yogurt until I got the consistency I liked. After a few experiments, I found that I prefer Greek yogurt in my hummus because it offers a little more body than more traditional yogurts.

Once it was well blended, I seasoned my hummus with lots of garlic, lemon juice, and parsley. Drizzling it with a little sesame oil and sprinkling with toasted sesame seeds gives it a hint of tahini flavor and makes the presentation super appealing.

I guess I’m not a “hummus purist,” but I like this lower-cost and lower-fat version.

By Cheryle Jones Syracuse, MS, Professor Emeritus, The Ohio State University

Want to offer your clients a guide to healthful, tasty hummus? Get a free PDF recipe right here! This page is an excerpt from The Home Run Cooking Book, which is a fantastic introduction to healthful cooking. It goes over kitchen tips and techniques, discusses cooking equipment, and offers the most popular healthful recipes, all of which have been rigorously tested and audience approved. It’s the perfect educational resource. Try this hummus and see for yourself!

Hummus Recipe

Remember, we are here when you want to look your very best right now. Here are some wonderful options to help encourage your clients to choose balanced diets…

Vitamins, Minerals, Fiber, MyPlate and Much More!

Nutrition Poster Value Set

This CD has our top 6 grocery PowerPoints, all in one place!

Healthful Shopping Presentation

The truth about sugary drinks!

Beverage Banner and Stand

Chickpeas, Garbanzo Beans, and Cece… Oh My!

I have to admit, chickpeas were one of those foods I could take or leave.

Yum! ChickpeasThe only time I ever really ate chickpeas was when they were in three bean salad or hummus. That all changed recently, when I started looking for a way to pep up our meals at home. Now these flavor and nutrient powerhouses have become a regular feature in our meal rotation.

So, what are chickpeas?

It turns out that these hearty little legumes go by many different names. Some folks call them chickpeas, while others insist on garbanzo beans as their moniker. The Italians call them cece. Don’t worry — no matter what you call them, these beans are delicious.

Hummus!The most common form of chickpeas are pale yellow in color, but they can also be black, brown, green, or red. Their flavor and texture have been described as somewhere between chestnuts and walnuts. When cooked, they have a creamy consistency with a mildly nutty flavor profile. This makes them the perfect base for spiced dishes and stronger flavors.

Originally from the Middle East, chickpeas are the most widely-consumed legume in the world. Did you know that? I was surprised!

More Chickpeas!The largest producers of chickpeas are India, Australia, Pakistan, and Turkey, but these beans can also be grown the United States, Canada, and Mexico.

Chickpeas are legumes, which means that they have seed pods in the plants, and are similar to beans or peas. Each chickpea seedpod usually contains two to three edible peas.

So, why should you make chickpeas a part of your diet?

Well, for one thing, they are full of nutrients! A cup of cooked chickpeas contains 15 grams of protein, with only about 269 calories and 4 grams of fat. There is no cholesterol in chickpeas, and they are very low in sodium. They are also sources of folate, iron, phosphorus, magnesium, calcium, and zinc. Like other beans, they are a great source of dietary fiber (12 grams per serving). For a closer look at the nutrient profile of chickpeas, check out the post MyPlate Flavor Exploration: Beans and Peas.

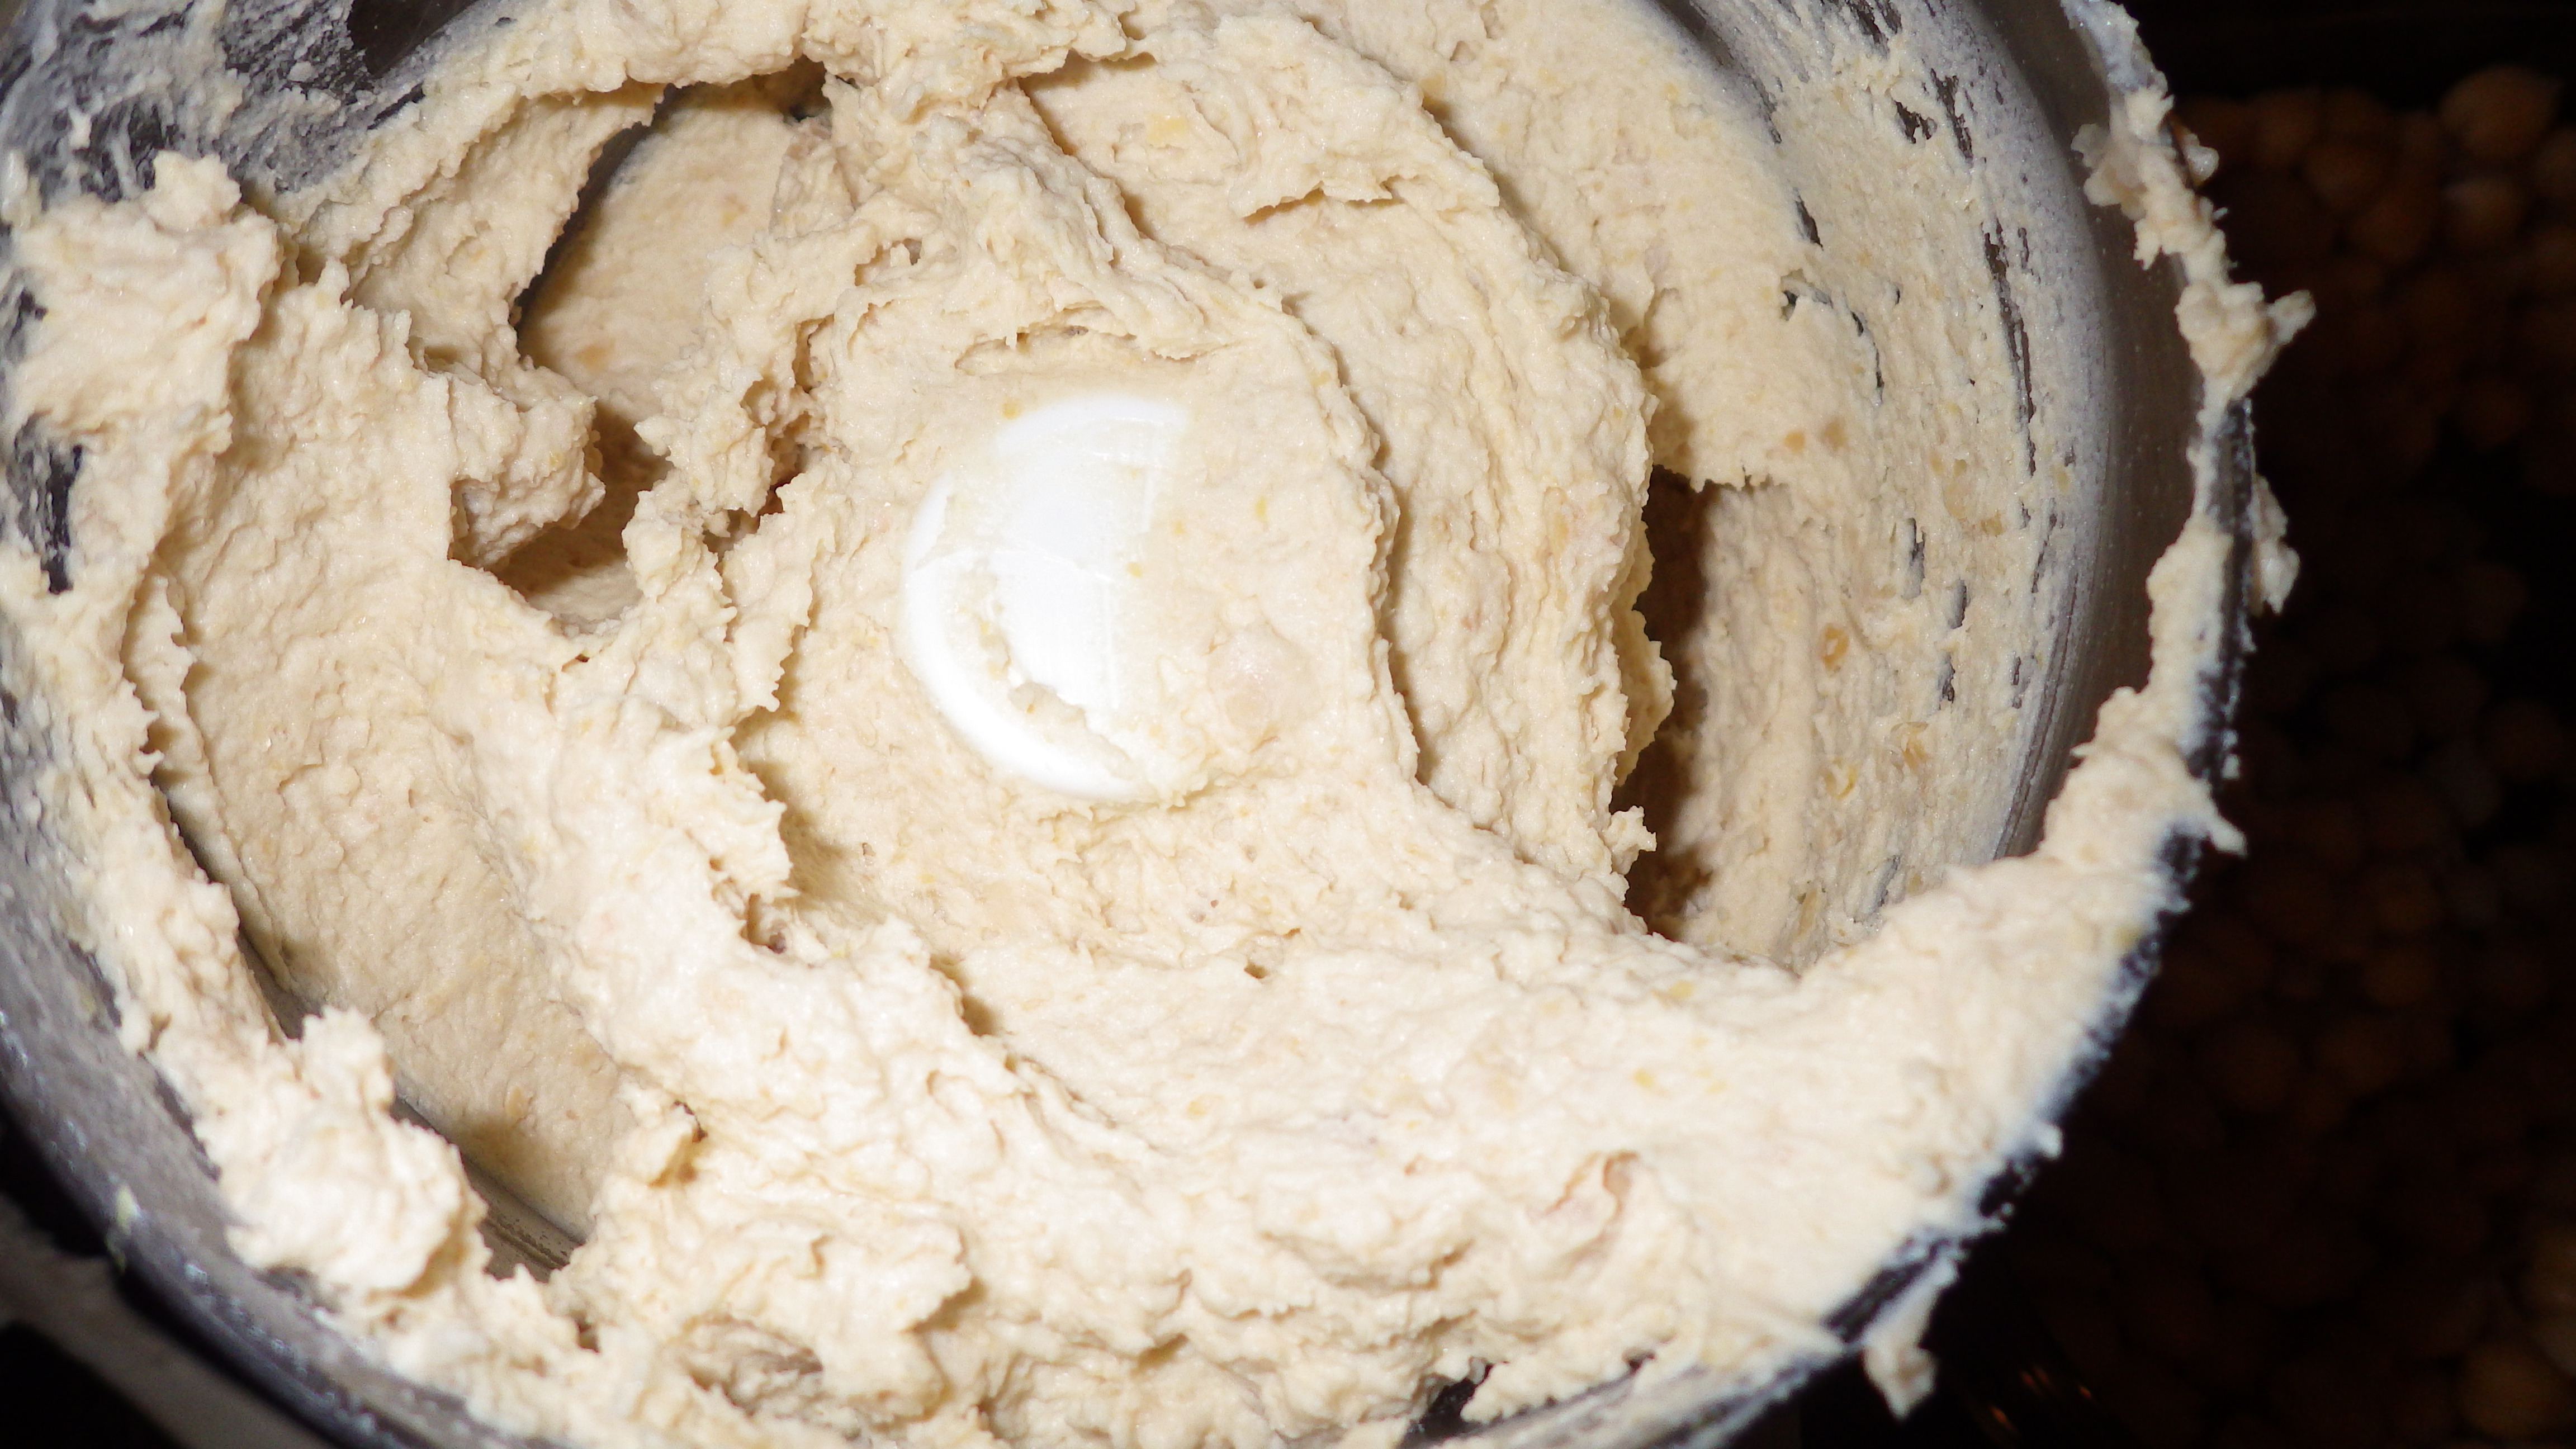
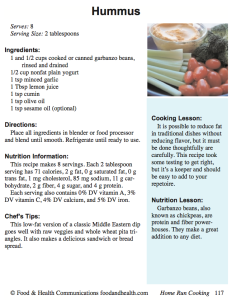
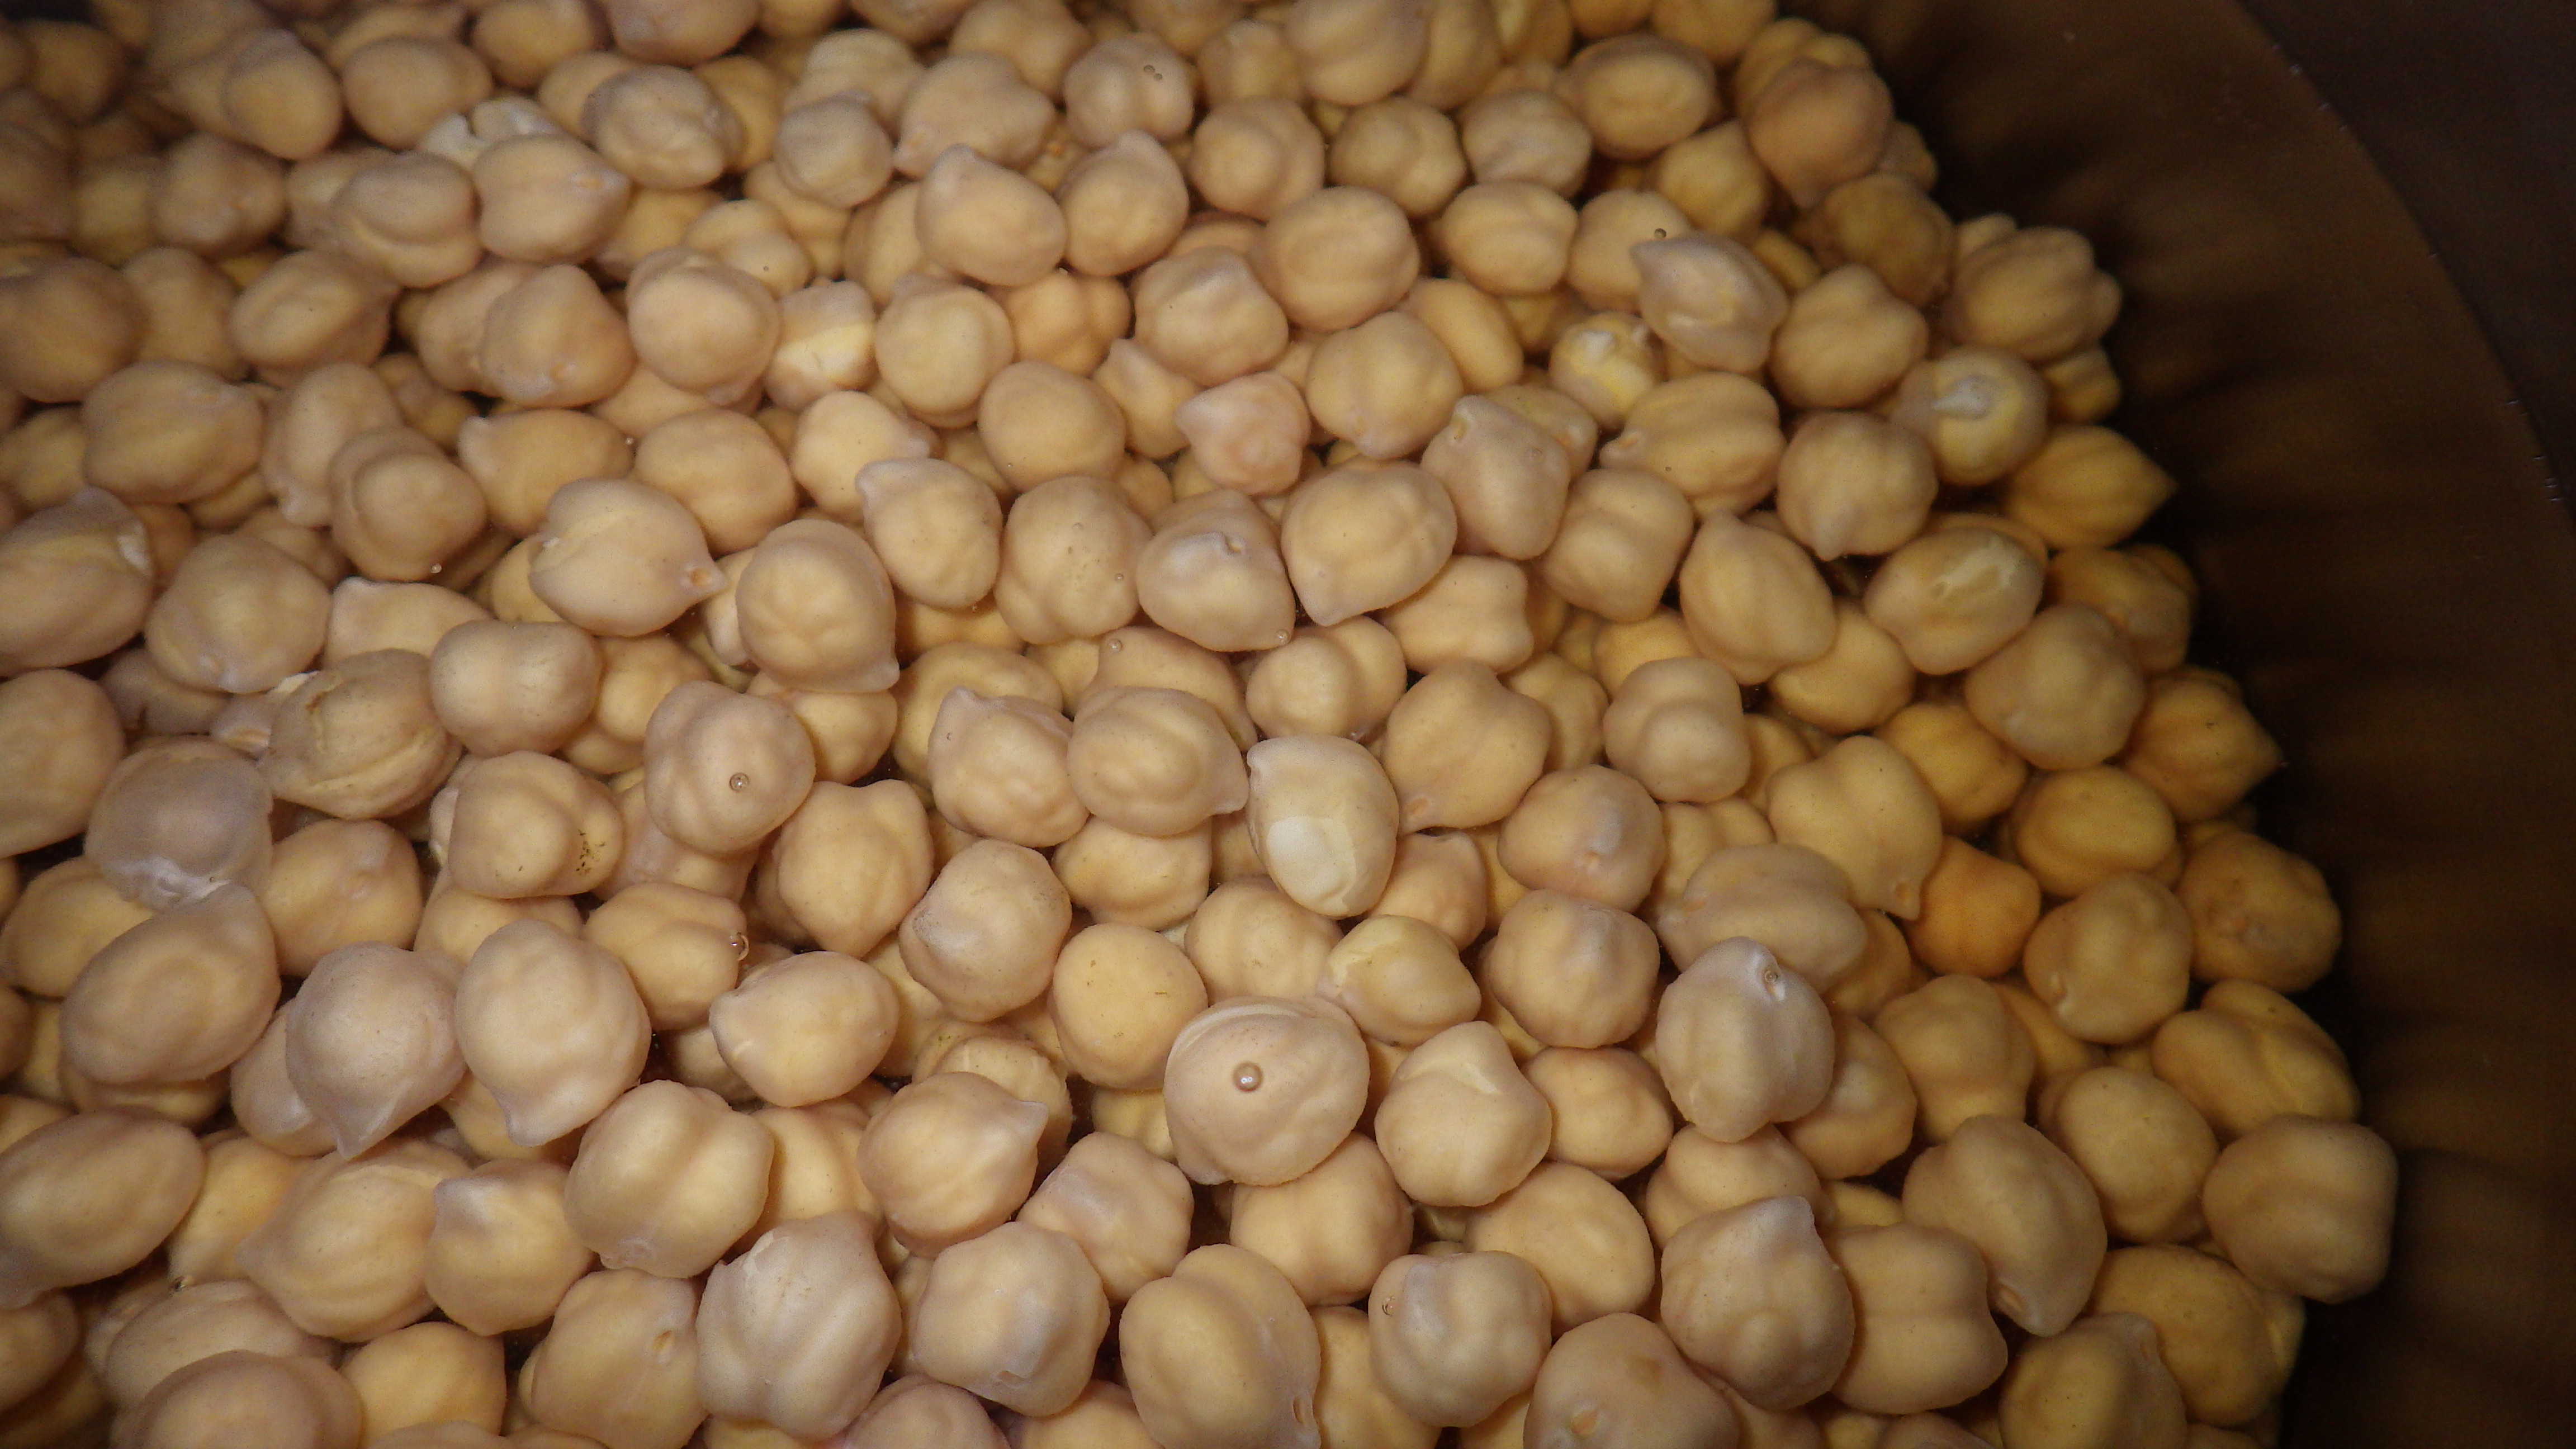
But how can you make chickpeas a part of your diet?

Chickpeas can be purchased canned and ready-to-eat. This is convenient, but unless they are canned without salt, they are generally pretty high in sodium.

Chickpeas can also be purchased as dried beans. Like other dried beans, they need to be soaked before cooking and generally have a long cooking time. To cook dried chickpeas, drain them and rinse well to remove any foam. Set them in a big saucepan and add water in a 3:1 ratio (3 parts water for every 1 part dried chickpeas). Bring the whole shebang to a boil over high heat, then cover, reduce the heat to low, and simmer for about 1 1/2 hours, or until tender. When I made chickpeas, I soaked them overnight and then cooked them on low in the slow cooker for five hours. I ended up with perfectly cooked beans!

Once cooked, chickpeas can be stored, covered, in the fridge for up to a week. Since one pound of chickpeas makes about 8 cups, I had lots of beans to use. Once you are open to experimenting, chickpeas can be used as you would other beans. I put them in salads, stews, soups, casseroles or ground as hummus.  Extra cooked beans can be frozen.

Some of my favorite chickpea recipes come from the Food and Health Free Recipe Database. Take a look…

No matter what they’re called, I’m glad I gave these little nutrition powerhouses a try. I’ll do it again!

By Cheryle Jones Syracuse, MS, Professor Emeritus at The Ohio State University

For more health and cooking resources, check out the Nutrition Education Store. Here are some great options…

Fruit and Vegetable Wellness Challenge

Choose Wisely Poster

Home Run Cooking: Guide to Healthful and Delicious Home Cooking

We are here when you want to look your very best right now.

Salvaging: What Is It?

Salvaging. That’s what my friend called it when she invited me to go shopping with her. She had a long list of salvage stores in the area that she wanted to visit. Intrigued, I decided to give it a try.

Salvaging: What Is It?If you’ve never heard of such a thing, here’s the scoop.

Salvage stores sell scratch and dent items and stuff that the regular stores can’t sell. These items may be overstocks, returned merchandise, clearance, or just things that didn’t sell at the retail store. Salvage stores buy products by the pallet and truckload and then resell them at a drastically-reduced price. Each load is different, so salvage shoppers will never know what will be available at any store.

Most of the items were dry goods, canned goods, and nonperishable food. The salvage store also had paper goods, pet food, and some cleaning supplies.

Many of the products were past the dates on the labels. The “food safety hairs” on the back of my neck started to go up quickly. That said, by being cautious and paying attention, I was able to find some real bargains.

How?

Well, salvage shopping feels like a balancing act to me. Some foods are perfectly safe, while others needed to be skipped. Here’s the lowdown on what you need to know if you or your clients want to pursue salvage shopping.

SalvagingThe expiration date on food has nothing to do with food safety. There is nothing “illegal” about stores selling food that is beyond the expiration date. The one exception here is infant formula and some baby food.

Packages frequently have words like “best by” or “use by” on them. This does not mean that you can’t eat the food after this date. These dates are provided by the food manufacturers as a way for you to judge quality and freshness. Putting these dates on packages is entirely at the discretion of the manufacturer. After all, they would like you to eat their food when it is at its best.

Many unopened shelf-stable products will be of good quality long past their sell-by dates. Foods like mustard, ketchup, pickles, crackers, and cereal may lose quality, color, and texture, but can remain perfectly safe to eat.

Here’s a little key to those dates:

  • The sell-by date tells the store how long to display the product for sale.
  • The use-by date is the last date recommended for use of the product while it’s at peak quality.
  • The best-if-used by dates is recommended for best flavor or quality. It is not a purchase or a safety date.

Walking the Aisles...Non-perishable shelf-stable foods such as sugar, dried beans, spices and canned goods do not spoil unless they are handled carelessly. They will lose quality and nutrition, however, if stored for a long time, even if kept under ideal conditions.

Some shelf-stable foods are called semi-perishable and have a shorter shelf life. These are foods like flour, grain, dried fruits and dry mixes. They can usually be kept unopened for 6-12 months without much noticeable quality loss.

Commercially-processed low-acid canned goods like meat, poultry, fish, soups, corn, carrots, potatoes will usually keep (unopened) in a pantry for 2-5 years. High acid foods like juices, pickles, sauerkraut and items in vinegar-based sauces will generally keep for 12-18 months.

When shopping, avoid dusty cans or torn labels, this may indicate very old stock.

Don’t purchase bulging, rusted, or leaking cans. These could contain dangerous bacteria.

Unsafe CanBe wary of deeply dented cans. Carefully check dented cans before buying them. Cans with dents may have exposed the contents to air, which results in the perfect environment for bacteria to grow.

Watch out for pantry pests (bugs) in salvaged foods. These pests can hitchhike into your house in foods like cereals, flours, herbs, spices, chocolate and dried fruit. Storing these items in air-tight plastic or glass containers can help prevent the infestation from transferring from one food to another in the pantry.

Consider the geographic area of where you live. Where have your salvage foods been stored? Food stored in warm and humid climates tends to have a shorter shelf life.

Don’t overbuy. Don’t get so excited about the deals you’re getting that you buy more than you can eat in a reasonable amount of time.

Once you get the items home, store them in a cool, dry place and rotate them, using the oldest first.

Remember the old saying “when in doubt, throw it out!”

I’ll add this… a deal isn’t a deal if you end up throwing the food out later. When you salvage, shop smart!

By Cheryle Jones Syracuse, MS, Professor Emeritus at The Ohio State University

Want to share salvaging tips with your clients? Here’s a SalvageHandout, just for you. Get your copy now!

Free Grocery Handout

For healthy shopping advice and guides to food safety, look no further than the Nutrition Education Store

Supermarket Shopping DVD

Food Safety Poster

6 Grocery Shopping Tours

Plus, there are tons of new materials in the store. Check them out, or just review the featured category below…

ALL-NEW Nutrition Posters

There are a whole bunch of new nutrition posters, and I really think you’ll like what you see. Help your clients choose healthful beverages, make balanced meal decisions, track their progress, and review nutrition basics, all with colorful and engaging posters. Take a look today!

Sprouts for Health?

A local health department sanitarian and I were recently teaching  a food safety class for restaurant managers. When we talked about children’s menus and potentially-hazardous foods, one item the sanitarian said that she avoids all the time is sprouts. Especially raw sprouts.

Sprouts -- Friend or Foe?This surprised the class.

Sprouts seem like foods that are super healthful in our culture. They could be alfalfa sprouts on a sandwich, mung bean sprouts in a stir-fry, or radish sprouts on a salad. In an attempt to get more vegetables or to add variety to a meal, sprouts seem like a great idea. Right?

Well, maybe not.

While sprouts do contain protein and vitamins, they may also contain something we don’t want: pathogens that cause foodborne illnesses.

Think about it. Sprouts grow in warm and wet places. So does bacteria.

According to the Food and Drug Administration, in the last several months there have been at least two outbreaks of foodborne illness in the United States that were related to sprouts. In one outbreak, five people were hospitalized and two of them died. The pathogen found here was Listeria monocytogenes.

Then, in another outbreak, a total of 115 people got sick because of mung bean sprouts. It was a different pathogen this time — Salmonella enteritidis. Those who fell ill ranged from age 1 to 83. One quarter of those who got sick had to go to the hospital, but luckily no one died from this outbreak.

These aren’t the only examples.

Alfalfa SproutsOver the past 20 years, sprouted seeds have been associated with at least 55 foodborne illness outbreaks, with more than 15,000 people getting sick. All of this came from eating something that those people thought was good for them.

In general, raw sprouts are risky. The only way to reduce this risk is to avoid eating them or to only eat them when they’re cooked. In most cases, cooking would destroy the risky pathogens. Cooking really isn’t practical for some of those smaller sprouts like radish or alfalfa, but it is the only way to help ensure food safety.

Have you ever noticed that sprouts aren’t an ingredient on children’s menus? Young children are at high risk for getting a foodborne illness, because their immune systems have not completely developed. Foods that are known to be susceptible to foodborne illnesses are not permitted on children’s menus. The restaurant can’t specifically offer them to children, but what a parent gives their kids food from the adult menu, then that is their choice.

Others at higher risk for foodborne illnesses are the elderly, pregnant women, and those with chronic illnesses or who have had organ transplants. All of these folks have weakened immune systems and should completely avoid raw or undercooked sprouts.

Bean SproutsHere are some recommended food safety practices that could help you and your family avoid getting ill from eating sprouts:

  • Be an informed consumer. If you purchase sprouts or grow them for home use, know the risks and take care with who eats them.
  • Only purchase sprouts that are refrigerated. They should look fresh and green. Avoid sprouts that look slimy or which are sitting in water.
  • Take the recommendation to “refrigerate after opening” very seriously.
  • Rinse sprouts thoroughly with water before use. Rinsing can help remove surface dirt. Don’t use soap or other detergents. But remember that rinsing may not remove harmful pathogens.
  • Be aware that children, older adults, pregnant women, and those with weakened immune systems should avoid eating raw sprouts of any kind.
  • Remember that cooking sprouts thoroughly kills most harmful bacteria.
  • When dining out, ask that raw sprouts not be added to your foods.
  • If you’re growing your own sprouts, make sure to purchase seeds that have been developed for food use.
  • Know that homegrown sprouts aren’t necessarily safer. The harmful bacteria may be present on or in the seed.
  • Purchase sprouts from growers that follow the best known practices.

Keep these tips in mind the next time you see sprouts on a menu or in the store.

By Cheryle Jones Syracuse, MS, Professor Emeritus at The Ohio State University

Source:  foodsafety.gov

Looking for more great nutrition education materials? Check out the incredible options in the Nutrition Education Store! Here are some of the newest resources for Nutrition Month…

Nutrition Month Banner

Whole Grain Bookmark

Interactive Nutrition Workbook

10K Steps Wristband

Thanks for scrolling to the very end! Here’s a helpful handout, loaded with great information about sprouts…

Sprouts Handout

19 Pot Luck Food Safety Tips

Over the years I’ve been invited to speak at many meetings and events. Quite often these occasions include food. Frequently, it’s a potluck affair. I’m usually invited to join them for a meal after the program, but I must confess that I often decline.

Pot Luck Danger ZoneWhy?

Well, let’s start with the type of meal the groups are putting together. Potlucks can go by many names — carry-in dinners, pass-a-dish, potlucks, or covered dishes. No matter what you call them, potlucks are scary. It all comes down to foodborne illness.

According to the CDC, every year 1 in 6 Americans gets sick after consuming a contaminated food or beverage. These illnesses are largely preventable with proper food safety, yet potlucks are where food safety strategies often break down. Foods sit out for far too long at the wrong temperature, and people can easily contaminate a dish by grabbing a serving with their hands or double-dipping. When I can, I avoid potlucks or turn them into “teachable moments.”

So is a pot luck in your future? If it is, here are a few dos and don’ts for a food-safe event:

  • Do remember the “two hour rule.” Any potentially-hazardous foods (dairy, meat, fish, cooked vegetables, rice, or chopped/sliced fruits and vegetables) that have sat out at room temperature for more than two hours should not be eaten. If the room temperature is more than 90 degrees, make it a “one hour rule.”
  • Do have a plan for keeping hot foods hot and cold foods cold. Hot food should be kept over 140 degrees and cold food should be kept under 40 degrees. If the situation does not allow for temperature control of the food, consider taking (and eating) foods that are less risky. Think bread, chips, nuts, dried fruits, cookies, pretzels, or washed whole fruit.
  • Do consider transportation before you decide on what you’re taking. Can you keep it hot or cold while getting it to the event? Count the transportation time in the “two hour rule.”
  • Don’t forget to wash your hands. When preparing foods for an event, take extra care at home to keep things clean and safe. Be sure to wash your hands before cooking. Plus, if there are animals in your home, keep them away from the food and preparation area.
  • Label It AllDon’t prepare food for other people if you’re sick. If you’ve had the sniffles, vomiting, or diarrhea in the past few days, then don’t cook!
  • Don’t partially cook food at home to finish at the pot luck. The best method would be to completely cook all potentially-hazardous foods at the meal site.
  • Don’t prepare foods the day before with the intent of reheating in a slow cooker. Completely cooking the food on the day of the event eliminates the risky cooling and reheating steps.
  • Do use enough ice. If you’re using coolers to keep food cold, make sure to have enough ice to keep the foods below 40 degrees.
  • Don’t use slow cookers to reheat leftovers. This is too slow. If you’re using a slow cooker to keep the food hot, reheat the food to 165 degrees and then put it in the slow cooker.
  • Don’t use warming trays to cook or reheat food. These appliances are not designed for this purpose.
  • Don’t wait to eat. If facilities are not available to keep the food at the correct temperature, don’t wait until the speaker is done or the “short” business meeting is over to eat.
  • Do encourage people to label and describe their food items. This will help with possible food allergies, and also will keep people from smelling or touching the foods with their hands, taking just a little taste in line to see what it is.
  • Wrap It UpDo remember to have tongs or other serving utensils available. This will help people avoid using their fingers or “double dipping.”
  • Do encourage the use of paper plates and/or clean plates for “seconds” and desserts.
  • Do refrigerate leftovers ASAP. Break large items into smaller portions so that they will cool more quickly. Don’t wait for the speaker to be done or the meeting to be over before cleaning up.
  • Do remember plastic wrap or zip-top bags to allow for quick clean-up and refrigerator storage.
  • Don’t take leftovers home. This could be risky. Not only has the food sat out at room temperatures for a long time, there is potential contamination from the many people passing through the buffet line.
  • Do throw away any leftovers that you are not sure about. All potentially-hazardous leftovers should be discarded.
  • Do remember the garbage. Bring extra garbage bags. Prevent potential contamination by keeping the garbage away from the food preparation and serving areas.

Here’s a handout with the top potluck tips. Feel free to share it with your clients!

Pot Luck Food Safety

By Cheryle Jones Syracuse, MS,  Professor Emeritus at The Ohio State University

And of course, there are plenty of food safety educational materials available in the Nutrition Education Store. Check out these top sellers!

Food Safety Temperature Guide

Food Safety PowerPoint and Handout Set

4 Steps to Food Safety Poster

BUT WAIT, THERE’S MORE! The Nutrition Education Store just got a lot of new products up and running. I’m sure that you will find something that will make your job easier. Here are a few favorites so far…

Elementary Nutrition Workbook

Snack Guide Handout Tearpad

MyPlate Brochure Card

Smart Consumer: Everything You Need to Know About Eggs

I think we’ve all been there. Standing at the egg display in the local grocery store wondering which one to pick…

IMGP9498
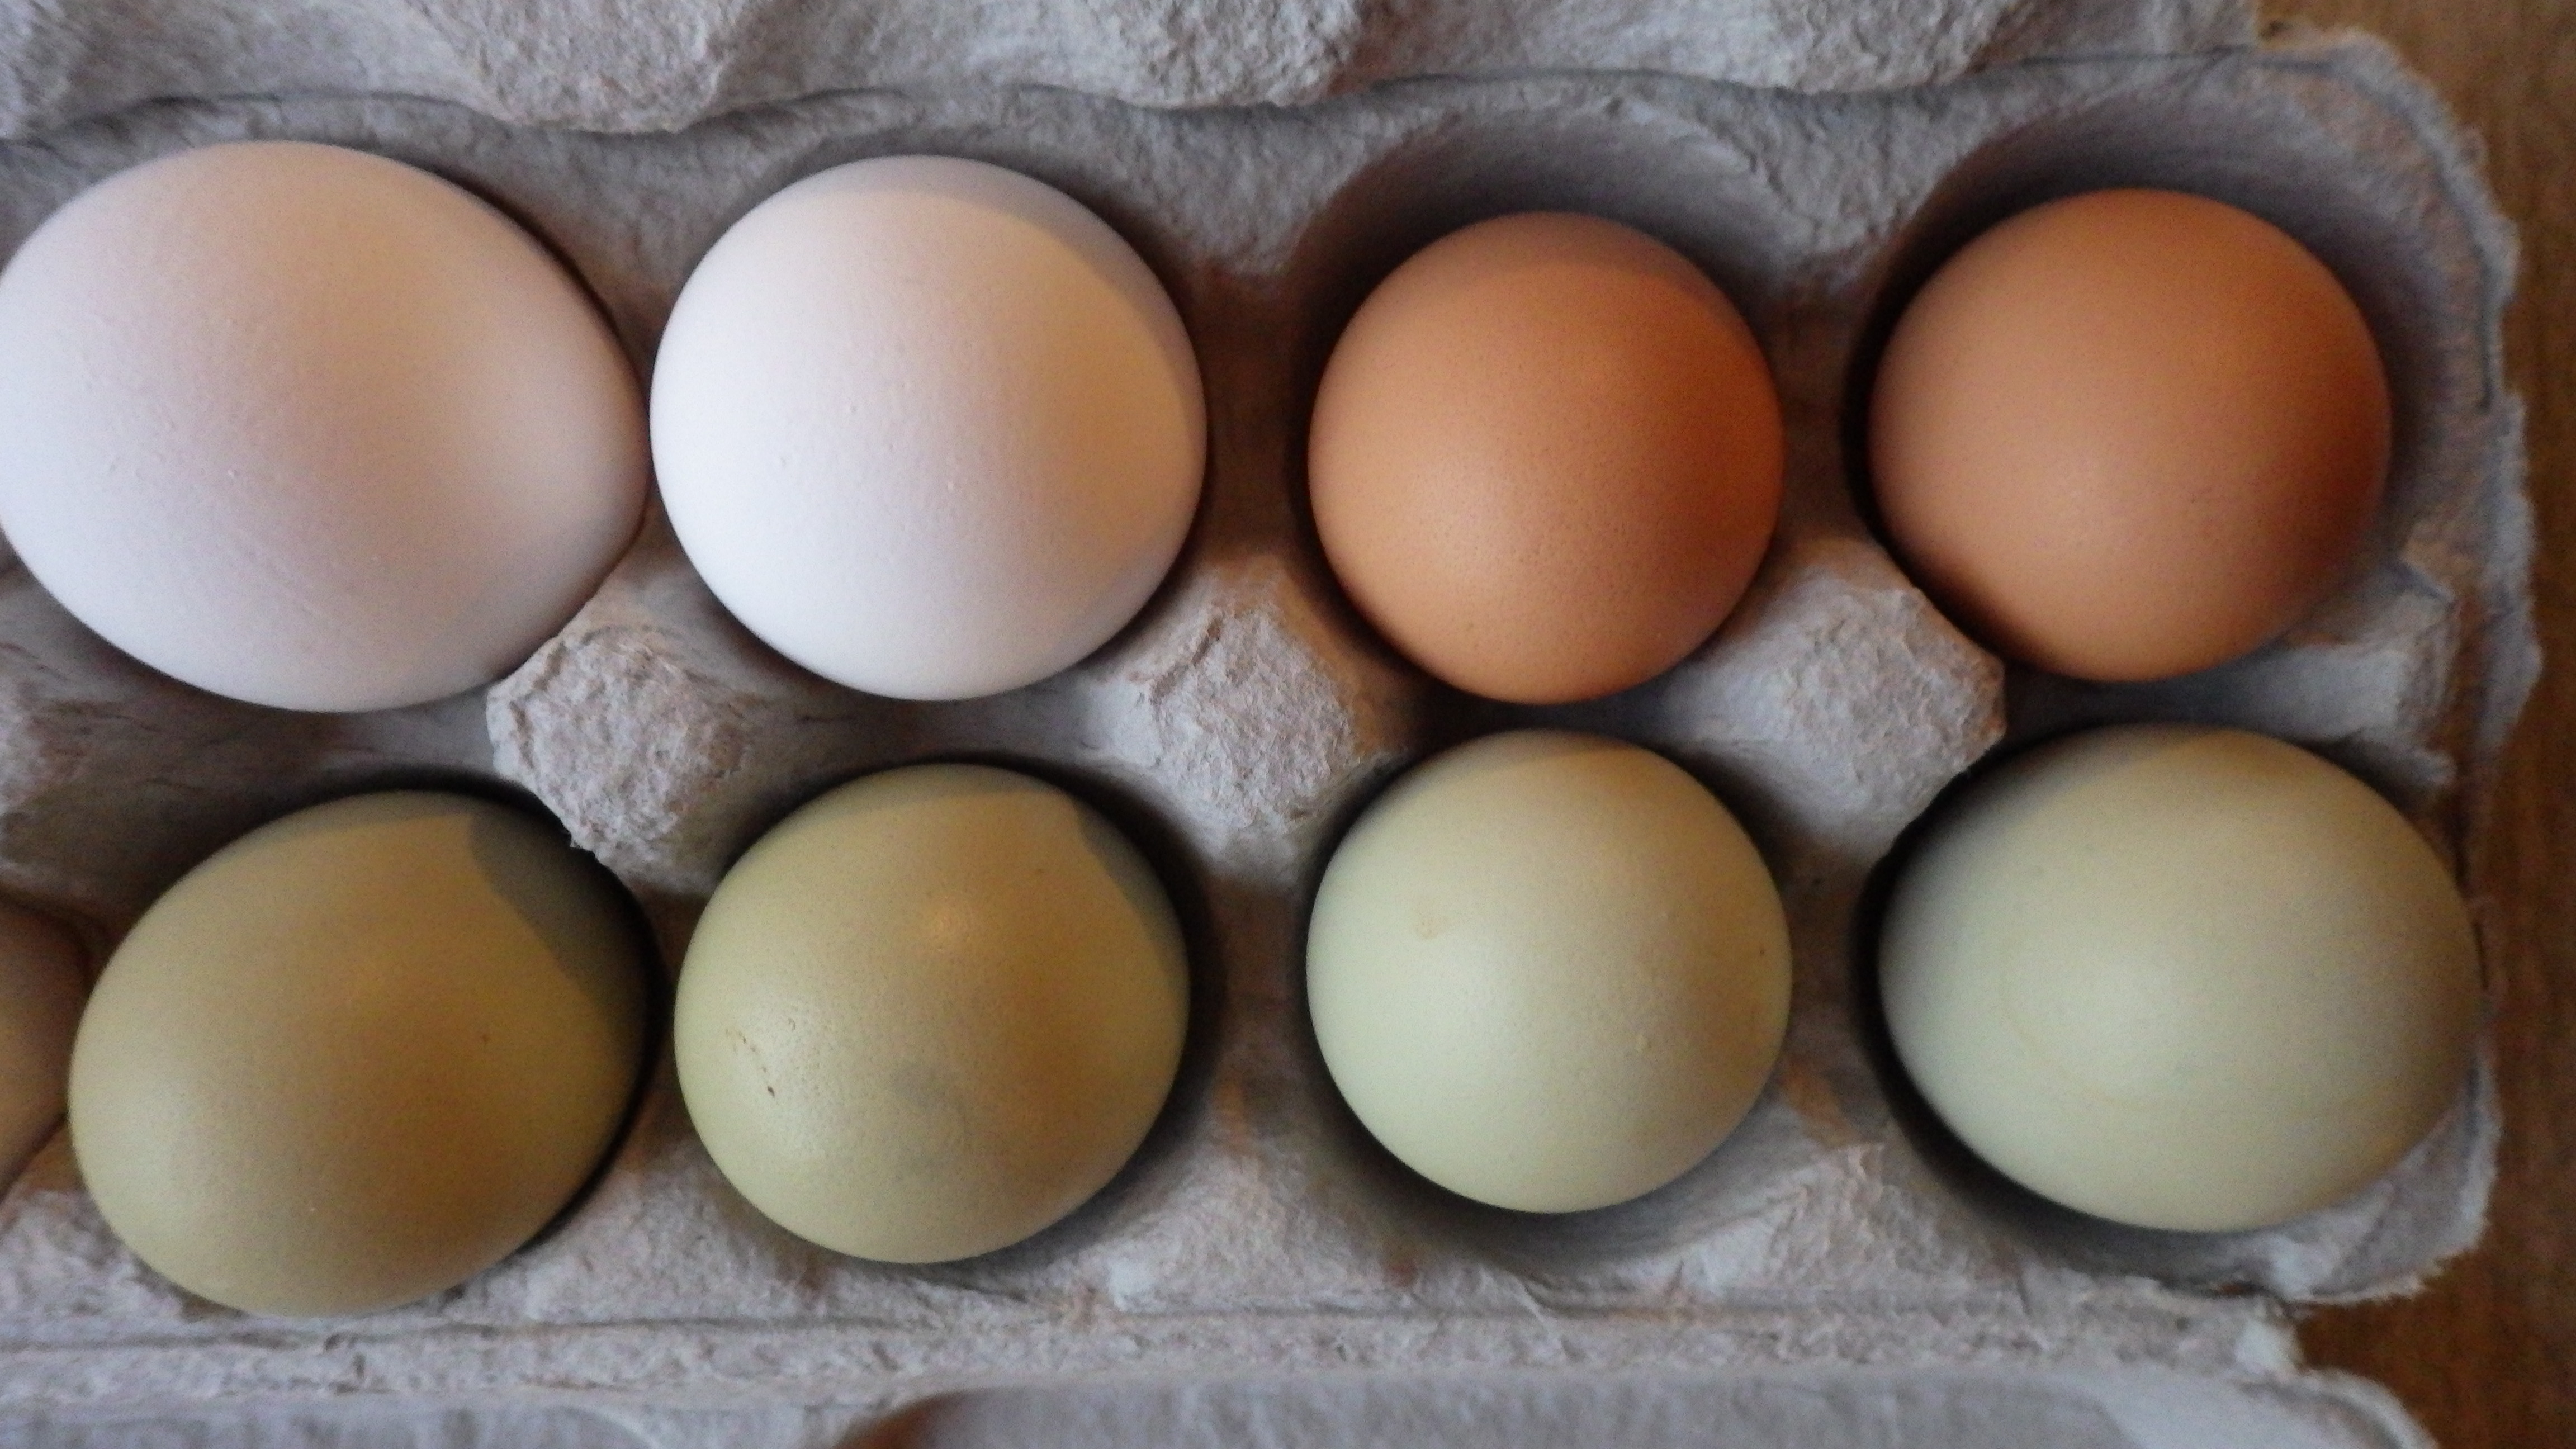
The options are many. Do you want large eggs or medium? Are some really more nutritious than others? Or what about the low-cholesterol egg substitutes? Choices, choices, choices.

I spoke with representatives from both the American Egg Board and the Ohio Poultry Association, and they helped me answer some of these questions. Together, we sorted through the misinformation, myths, and personal anecdotes about eggs.

Here’s what I learned…

Consumers have many choices when it comes to purchasing eggs. These options can be based on usage, nutrient needs, and personal values. When it comes time to choose what kinds of eggs you want to buy, keep these ideas in mind…

Due to changes in farming and feeding, today’s eggs contain more vitamin D and are lower in cholesterol than before. In 2011, the USDA re-evaluated the nutrients found in eggs. Now they show that one large egg contains 75 calories as well as 41 IU of vitamin D (64% more than in the 2002 data analysis) and 185 milligrams of dietary cholesterol (this is down from the earlier level of 220 milligrams.) Eggs are good sources (a little over 6 grams) of high-quality protein.

In an effort to reduce cholesterol, calories, and fat, some people are using just egg whites. This can be done by separating the whites from the yolks once you crack an egg open. You can also buy an egg substitute. Some egg products come in milk carton-style packages and are just egg whites. Others contain added ingredients that make them look and taste like whole eggs. But think about what you really want from these options. Yes, all of the fat and cholesterol in an egg can be found in the yolk, and of the 75 calories in a large egg, 54 of them come from the yolk. But remember that the yolk is a good source of vitamin D and two carotenoids — lutein and  zeaxanthin. These carotenoids help protect against macular degeneration as we age.

Eggs can come in different colors!Usually, an egg is packaged the day it is laid and is in the store within three days after that. The date the egg is packed is provided on the carton in the “Julian date”. This is a three-digit code for the day of the year. For example February 1 would be 032 and December 31 would be 365.* Sell-by dates or expiration dates are not federally required, but, if listed, they cannot be longer than 45 days after packing. If refrigerated, eggs will keep in the refrigerator for 4-6 weeks after you buy them, which is right about 5 weeks. I go into more detail about this in the post How Old is that Egg?

The size of an egg is determined by the weight per dozen. All sizes of eggs work for scrambling, hard-cooked, or poaching. In fact, I like the medium eggs for these purposes, since they are slightly smaller but just as pretty. If you’re baking, it’s best to go for the large eggs. Most recipes are designed with this size egg in mind.

Now, what about those eggs that claim to be higher in certain nutrients or lower in cholesterol? If a product label indicates a nutrient difference from the standard, then these claims need to be documented through research. Yes, it is possible to slightly alter the nutrients in the eggs through the chicken’s feed. For example: if a chicken is fed food that is high in flax seed, then the resulting eggs can be higher in vitamin D. But, you’re going to pay for a higher price for these eggs due to the higher cost of the feed. Whether you buy eggs with more vitamin D is a personal choice.  The same goes for organic, free-range and cage-free eggs. The USDA nutrient analysis shows that these eggs are all nutritionally the same as traditionally farmed eggs, but the circumstances in which the chickens are kept may vary.

Even though it makes shopping more difficult, I think we’re lucky to have all of these choices. Which eggs will you pick?

By Cheryle Jones Syracuse, MS, Professor Emeritus at The Ohio State University

*Except on a leap year, of course!

NEVER-BEFORE-SEEN Materials

NEVER-BEFORE-SEEN Materials

Want to help your clients become smart consumers? Try some of these great new products from the Nutrition Education Store!

Nutrition Poster Value Set

Portion Control Handout Tearpad

Personalizing MyPlate DVD

Thank you for scrolling! Here’s a free egg handout — I hope you enjoy it!

Free Egg Handout

How Old Is That Egg?

If you open up almost any refrigerator, you’re likely to find some eggs. But how old are they?

If you’re like most people, eggs can hang out in your refrigerator for a while. At what point are they unsafe to eat?

Food safety specialists and the folks at the American Egg Board assert that eggs can keep in the refrigerator at below 40 degrees for 4-6 weeks after purchase.

Important DatesSo what does the code on the carton mean?

The code on the carton is a “Julian date” and it’s the date the egg was packed into the carton.

Let’s look at an example. I recently found a package of eggs in my refrigerator that had the code of 281. Checking the “Julian date” calculator on the web, I learned that that the egg was packed on the 281st day of the year — that’s October 8. The use-by date is November 21, which is 45 days after the “Julian date.” That’s right on target at 5 weeks.

Okay, so now that we’ve talked about when eggs are good, let’s review how to keep them in the best shape. I’m talking about storing them — should you put eggs in the door or the carton?

The general consensus these days is to keep eggs in their carton and put the carton in the coldest part of the refrigerator. Skip those little shelves on refrigerator doors. With the door opening and closing throughout the day, the eggs stored in the door are subjected to temperature changes, which can cause quality loss. Storing the eggs in the original carton also helps eggs keep their moisture.

Oddly-Shaped Older EggsBut what if you don’t have the carton? How well can you tell the age of your eggs?

For many years, I believed that the age of an egg could be estimated by the size of the air cell inside. The theory was that an egg evaporates as it ages. Since the shells are porous, moisture and carbon dioxide escape and air enters the shell. This makes the air cell larger, and with more air inside, the egg floats. That’s a good theory… but, it’s not always reliable.*

According to a representative of the American Egg Board, just because an egg floats does not necessarily mean that it’s old. Instead, it may just be that the chicken laid the egg with a large air cell in the first place.

Therefore, you can’t always tell the age of an egg by putting it in a bowl of water.

On the other hand, evaporation is the premise used in the recommendation for using a “slightly older” (7-10 days) egg for hard-cooking. An egg that’s a bit older allows for easier peeling. As the egg ages, it “looses” the egg membrane’s connection to the shell, which in turn makes it easier to peel.

So, to tell the age of an egg, we need to look at what else happens when an egg ages.

When cracked open, an older egg will appear flatter. It will spread out more and the yolk membrane will be weaker and easier to break. These eggs won’t look as good when served sunny-side up, but when the appearance isn’t important, they’ll still work fine.

Older EggAn “older egg” (I’m talking about eggs that are near that 45-day “use by” date) may also not look great for when it comes to hard-cooking eggs because that air cell is more prominent. See the photos here — those are oddly-shaped hard-cooked eggs.

According to the American Egg Board, a properly-handled egg rarely spoils or becomes unsafe if it’s stored properly, no matter how long it is kept.

That said, as an egg ages, it dries out and the quality diminishes. The American Egg Board recommends throwing out eggs after 4-6 weeks.

You’ll know right away if an egg has spoiled because it will have a very unpleasant sulfur stench. Once you open the shell, you will be able to smell it. This is pretty rare, but very memorable.

So there you have it. A guide to the age of eggs.

By Cheryle Jones Syracuse, MS, Professor Emeritus at The Ohio State University

*Note: The Egghead Quiz has been changed to reflect this new information.

BRAND-NEW Nutrition Education Materials

BRAND-NEW Nutrition Education Materials

Have you seen the latest and greatest from the Nutrition Education Store? There are over 70 TOTALLY-NEW materials for you to try. For great shopping resources like the post above, try…

Supermarket Shopping DVD

Beverage Better Poster

Healthy Cooking and Shopping Workbook

PLUS there are wonderful new designs in the Displays by Design category. These resources will help you coordinate displays at health fairs or job sites. There are lots of great banners, stickers, posters, handouts, and bulletin board kits in each display, all of which will make your job a snap!

Displays by Design

Internal Cooking Temperatures: Simply Confusing

It seems so simple.

Food TemperatureThere are four basic steps to food safety: wash, separate, cook, and refrigerate. Today I’m focusing on cook.

This recommendation seems simple to me: “cook food to a proper internal temperature and use a food thermometer.” So, why is it so hard?

Let’s take a minute to explore what preparing food safely actually entails. A couple of months ago, Judy Doherty, founder of Food and Health Communications, asked me to help her develop a food safety temperature poster.  She was looking to do something specifically about food temperatures. We started at 0 degrees Fahrenheit (freezer temperature) and went all the way up to 240 degrees (pressure canning). Although it may seem predictable, filling the space in between wasn’t so easy.

I teach a lot of restaurant food safety, so the first reference I want to was the Food and Drug Association’s (FDA) Food Code. In it, they list the recommended minimum internal cooking temperatures for food service. So far so good. But then I looked at the United States Department of Agriculture and found a different chart for minimum internal temperatures. This one was designed for consumers. All the recommended temperatures were the same or higher than the food code temperatures. That’s a little confusing. If there really is one “proper internal temperature,” then how can these differ?

I talked with a consumer adviser from the USDA’s Meat and Poultry Hotline and asked about this difference. The response was that their information was designed for consumers who cook at home. This makes the authors of the chart more conservative than they are with food code guidelines. I can understand this, since restaurant and food service folks have standard operating procedures for food safety that are not found in most homes.

After my call, I went to the National Turkey Federation to confirm the recommended internal temperatures for poultry. In checking several recipes, I found at least three different temperatures for roasted turkey. On their website, the National Turkey Federation does a nice job explaining the rationale for these differing temperatures, saying:

“The FDA recommendations are for safety-temperatures at a sufficient level to kill bacteria that may be present. Our own recommended temperatures are somewhat higher in many cases. We have chosen these temperatures because we believe they will enable you to achieve optimum quality. In addition, turkey will be easier to carve or slice when heated/cooked to these temperatures.”

OK. This makes sense. When in doubt, use the higher temperature. Here is the USDA information:

Safe Minimum Internal Temperature Chart

Safe steps in food handling, cooking, and storage are essential in preventing foodborne illness. You can’t see, smell, or taste harmful bacteria that may cause illness. In every step of food preparation, follow the four guidelines to keep food safe:

  • Clean—Wash hands and surfaces often.
  • Separate—Separate raw meat from other foods.
  • Cook—Cook to the right temperature.
  • Chill—Refrigerate food promptly.

Cook all food to these minimum internal temperatures as measured with a food thermometer before removing food from the heat source. For reasons of personal preference, consumers may choose to cook food to higher temperatures.

Product Minimum Internal Temperature & Rest Time
Beef, Pork, Veal & Lamb
Steaks, chops, roasts
145 °F (62.8 °C) and allow to rest for at least 3 minutes
Ground meats 160 °F (71.1 °C)
Ham, fresh or smoked (uncooked) 145 °F (60 °C) and allow to rest for at least 3 minutes
Fully Cooked Ham
(to reheat)
Reheat cooked hams packaged in USDA-inspected plants to 140 °F (60 °C) and all others to 165 °F (73.9 °C).


Product Minimum Internal Temperature
All Poultry (breasts, whole bird, legs, thighs, and wings, ground poultry, and stuffing) 165 °F (73.9 °C)
Eggs 160 °F (71.1 °C)
Fish & Shellfish 145 °F (62.8 °C)
Leftovers 165 °F (73.9 °C)
Casseroles 165 °F (73.9 °C)

My concern is not to haggle over a few degrees here or there. My goal as a teacher and writer is to encourage people to use that thermometer. USDA studies show that 65% of consumers use food thermometers on Thanksgiving, but only 3% use them when cooking everyday foods like burgers. Why skip the thermometer?

“Cook” is one of the key steps to food safety. Cooking food so that it reaches a safe internal temperature is crucial to keeping food safe. Using thermometer is the only way to tell for sure whether food has reached a high enough temperature to destroy harmful bacteria.

The bottom line is simple: are your clients using a food thermometer? Do they know the temperature of the food they’re eating and serving?

By Cheryle Jones Syracuse, MS, Professor Emeritus, The Ohio State University

Here is the new food safety temperature chart poster based on USDA temperature guides:

And one on food safety:

4 Steps of Food Safety Poster

4 Steps of Food Safety Poster

And more great resources!

Cooking Demo Package

Cooking Demo Display Kit