New Presentation Tips

I’m so excited because I’ve finally gotten the tools I need to share an amazing new resource with you…

A Sauce Painting Kit!

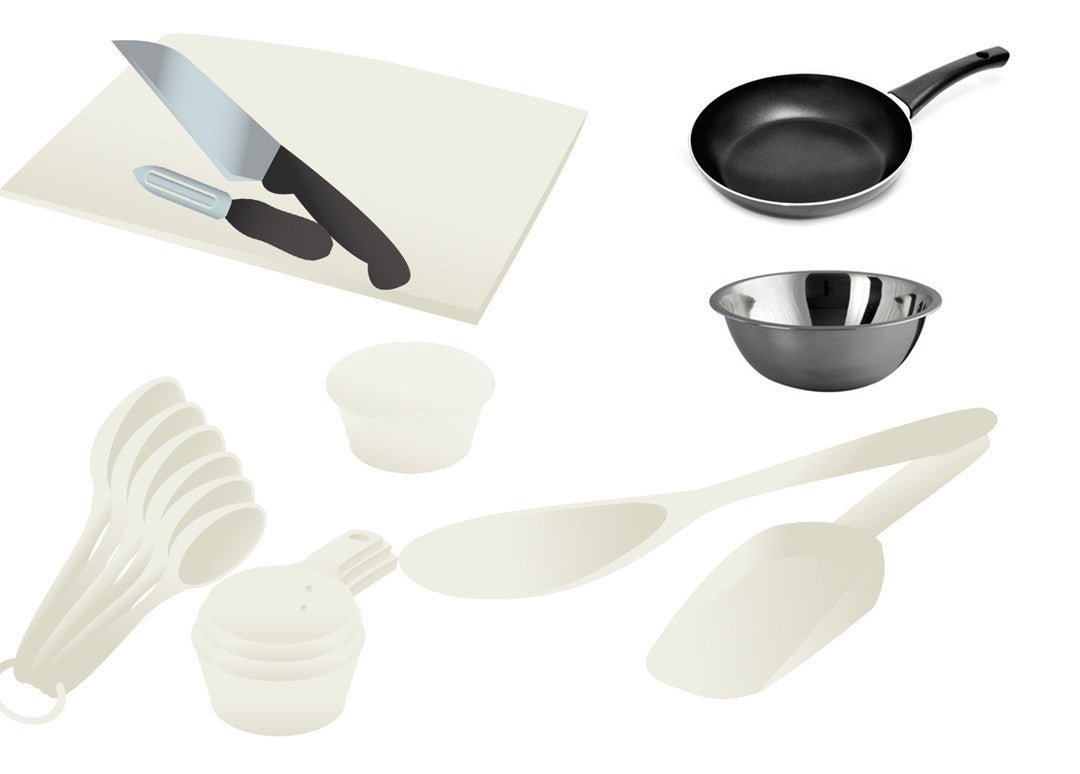
This kit features the 3 tools that you need to arrange beautiful plates at your next cooking demonstration or presentation. It includes…

  • Stainless steel sauce spoon – This special spoon makes it easy to arrange sauce on a plate.
  • 4 ounce squeeze bottle – Put a sauce that you want drizzled on a plate into this bottle and see how beautiful your presentation will look. Plus, you can wash and reuse the bottle as many times as you want!
  • Silicone pastry brush – The is perfect for brushing thick sauces on a plate so that your food presentation looks like it was done by a professional chef!

Now I want to share a few fun ways that you can use the tools in this kit to create amazing presentations for different dishes. Know that you don’t have to actually buy this kit to make the most of these tips — the kit will just make it easier. Feel free to improvise with resources that you already have!

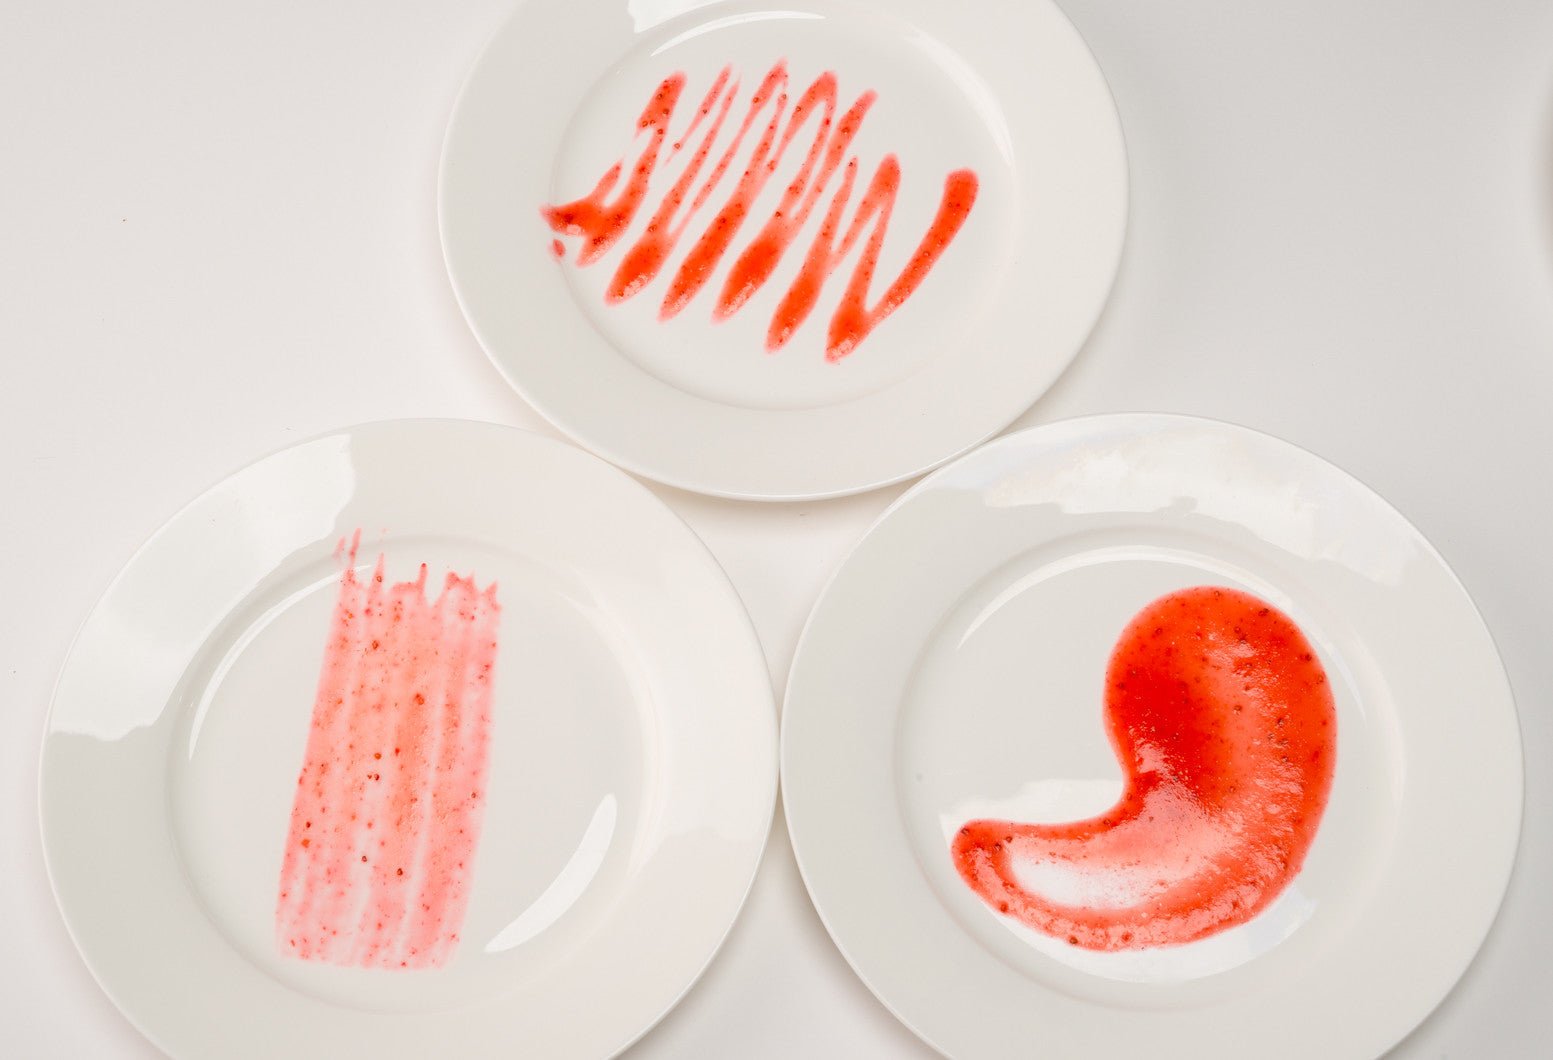
  1. Add a sauce to an entree plate by drizzling the sauce over the top of your food with the sauce bottle. You can also use the spoon to smear a colorful and flavorful sauce on the plate before adding a protein item, or you could even use the brush to put a highly-flavored sauce on the plate in a beautiful, artistic pattern.
  2. Use the spoon to add a beautiful dessert sauce and then drizzle a design into it.
  3. Use the brush to brush a sauce across the plate before placing food on top of it.
  4. Use the bottle to create dots in the white space around the food you’ve plated.
  5. Use the bottle to drizzle a sauce on top of anything.
  6. Use the spoon to pull a sauce or dressing across the plate before adding your food items.

With this trio of tools, anything is possible! Plus, with this kit, you will be taking your cooking skills and presentations to the next level for you and your family and clients!

And here are a few other resources that would be great for your next cooking demonstration or presentation…

Sponge 101: Keeping Your Kitchen Safe

Don't Put Your Sponge in the MicrowaveKitchen sponges. Some people love them and others wince at the thought of that bacteria-breeding creature in their kitchen.

(With that statement I bet you know my thoughts on the subject).

Sponges are great for wiping up spills and absorbing liquid. Some even have a scrubby side that helps clean grime from pots, pans and dishes. However, in the course of performing these services, sponges also absorb harmful foodborne pathogens along the way. There have been some scientific studies that show that kitchen sponges (and/or dish rags) are the germiest places in most homes. If they’re not cleaned between uses, then they can be a prime spot for germ growth.

If you love your sponge, here are some ways to keep it clean…

  • Clean it daily and replace it frequently. If it starts to smell, pitch it.
  • Wring the sponge out completely after each use and wash off any loose food or debris.
  • Try to allow it to dry out.
  • Don’t use the sponge to wipe up meat or poultry juices. Clean these types of spills with paper towels or something that you can throw away.
  • Don’t use sponges on countertops. Germs and bacteria can easily spread from the sponge to the counter, and then you spread it all around. Paper towels or disinfectant wipes are better to use on countertops.

BleachNow let’s talk about sanitizing the sponge.

Several reputable organizations and websites recommend heating sponges in a microwave on high for one to two minutes. These sites say that this process kills 99% of possible bacteria.

However, there are a couple of concerns here. According to the American Cleaning Institute, microwaving a sponge could be risky. Unless the sponge is soaking wet, there is the possibility of starting a fire inside the microwave. In addition, the size of the sponge and the amount of power in the microwave are variables that influence how long you would need to zap it to kill germs.

If you “nuke” that sponge and think you’ve solved the bacteria problem, you may need to re-think that process.

A better way of keeping a sponge clean is to soak it for five minutes in a solution of one quart water to three tablespoons of chlorine bleach and then let the sponge air-dry.

A pro-active approach to cleaning that kitchen sponge is to put the bleach and water solution into my sink and soak the sponge in it as well as swish it around the sink. This helps with a couple of different potential dirty areas and will help clean the sponge, the sink, and the drain. Oh, and here’s a tip from my own experience, use caution with this beach solution or you’ll end up with bleach spots on your clothes.

By Cheryle Jones Syracuse, MS,  Professor Emeritus at The Ohio State Univeristy

But wait, there’s more! At the Nutrition Education Store, that is!

Art of Health Poster

Kitchen Math and Measuring DVD

Healthy Kitchen Poster Set